Users
The Users section allows a company admin to add and manage multiple agent users in Utter. Agents can work collaboratively across the platform, with different permissions depending on whether they are an Admin Agent or User Agent.
Admin Agent vs User Agent
There are two types of agents:
- Admin Agent
- User Agent
The available activities are:
| Activity | Admin Agent | User Agent |
|---|---|---|
| Add and manage contacts | ✓ | ✓ |
| Create groups and manage group contacts | ✓ | ✓ |
| Send / schedule broadcasts | ✓ | ✓ |
| Handle inbox conversations | ✓ | ✓ |
| Assign inbox chats to agents | ✓ | — |
| Reassign chats | ✓ | ✓ |
| Create and manage tags | ✓ | — |
| Add admin and user agents | ✓ | — |
| Add and manage widgets | ✓ | — |
These permissions are based on the role matrix provided in the source documentation.
Step 1 — Open the Users section
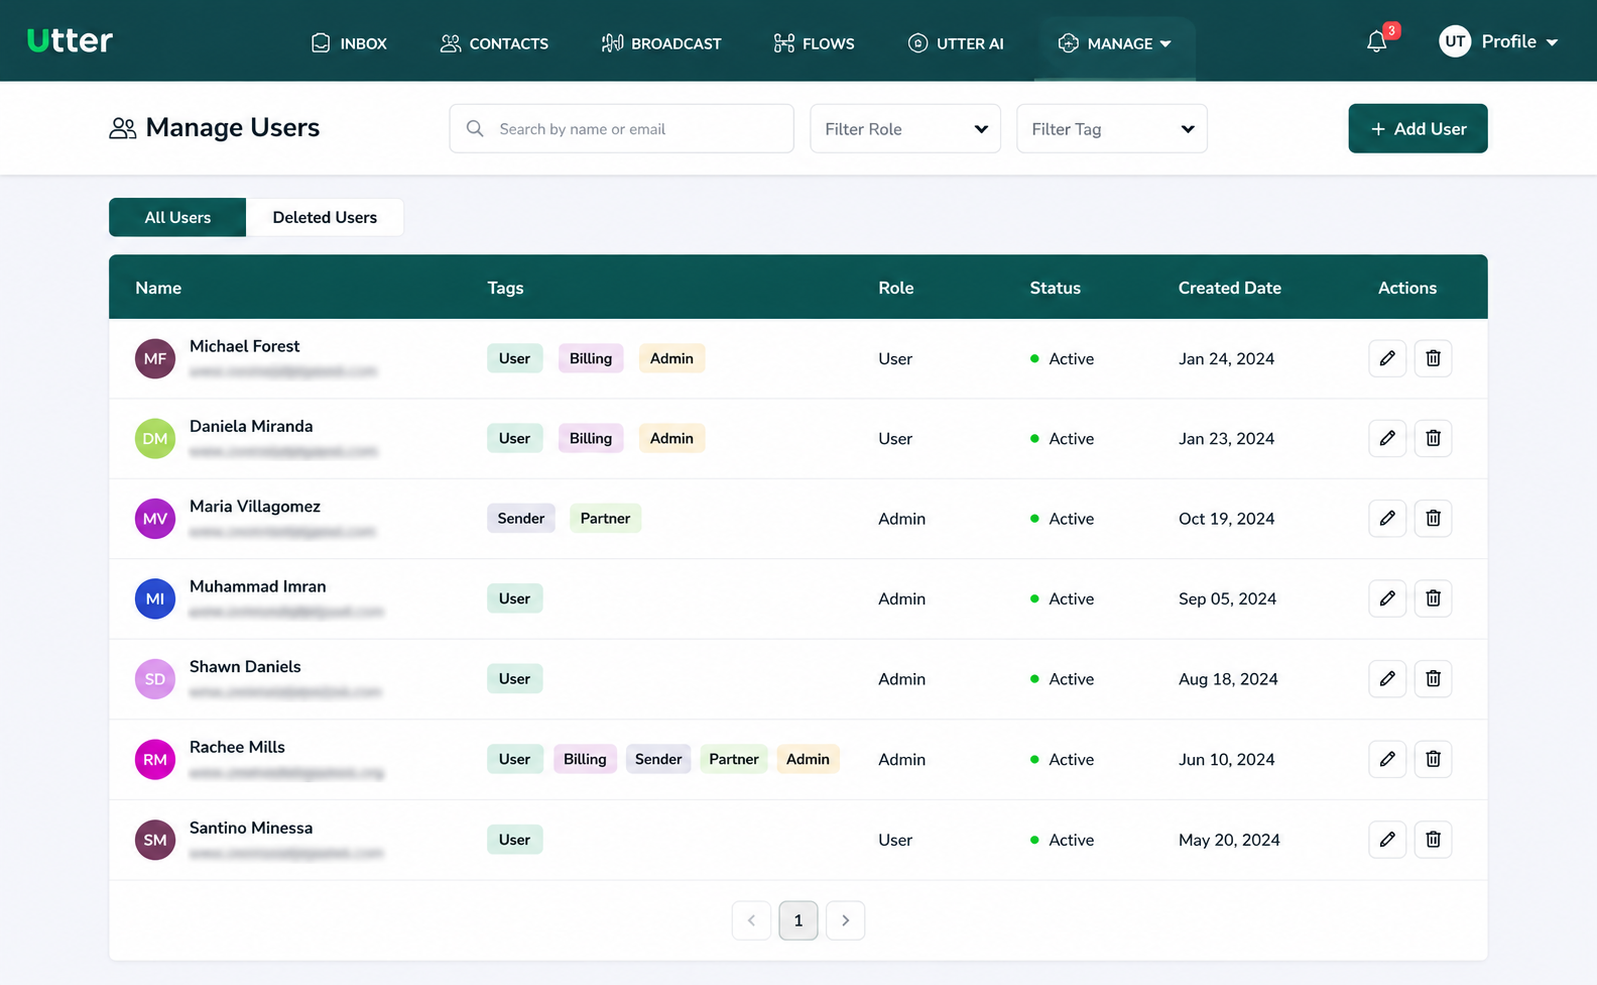
As a company admin, open the Users section to view and manage agent users.
The admin has full visibility of the user agents added to the system.

Step 2 — Add a new agent user
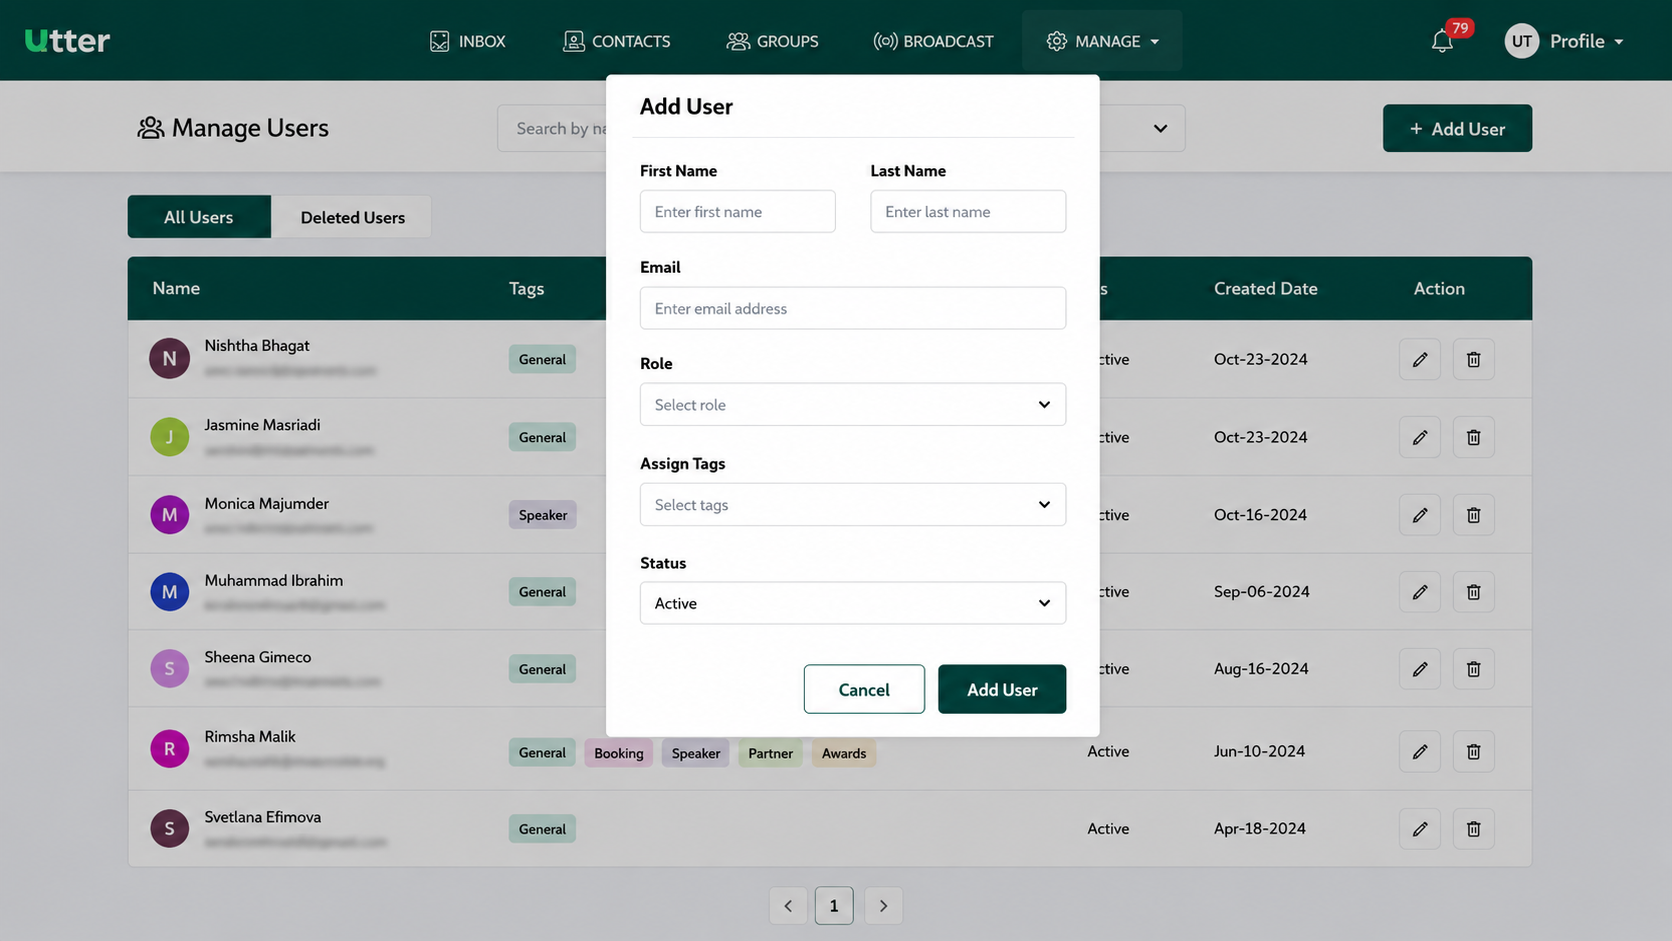
Click Add User to create a new agent user.
The following information is required when adding the user:
First Name
Enter the first name of the agent user.
Last Name
Enter the last name of the agent user.
Email
Enter the email address of the agent user.
Role
Select the user's role from the dropdown.
The company admin can add multiple Admin Agents or User Agents to handle the Utter application.
Assign Tags
Select tags from the dropdown. The available tags are those that have already been created.
Status
Set the agent user's status to either:
- Active
- Inactive
Step 3 — Create the user
After entering the required information and selecting the appropriate role, tags, and status, complete the user creation process.
Once the admin or agent user has been created, the new user receives a confirmation email containing the information needed to access and use the application.
Make sure the email address entered for the agent user is correct because the confirmation email is sent to that address.
Step 4 — Search and filter agent users
The Users section provides search and filtering options to help admins find agent users quickly.
Search by name or email
Enter the user's name or email address in the search bar to locate the user.
Filter by status
Filter the list based on the user's current status:
- Active
- Inactive
Filter by tag
Filter users according to the tag assigned to them.
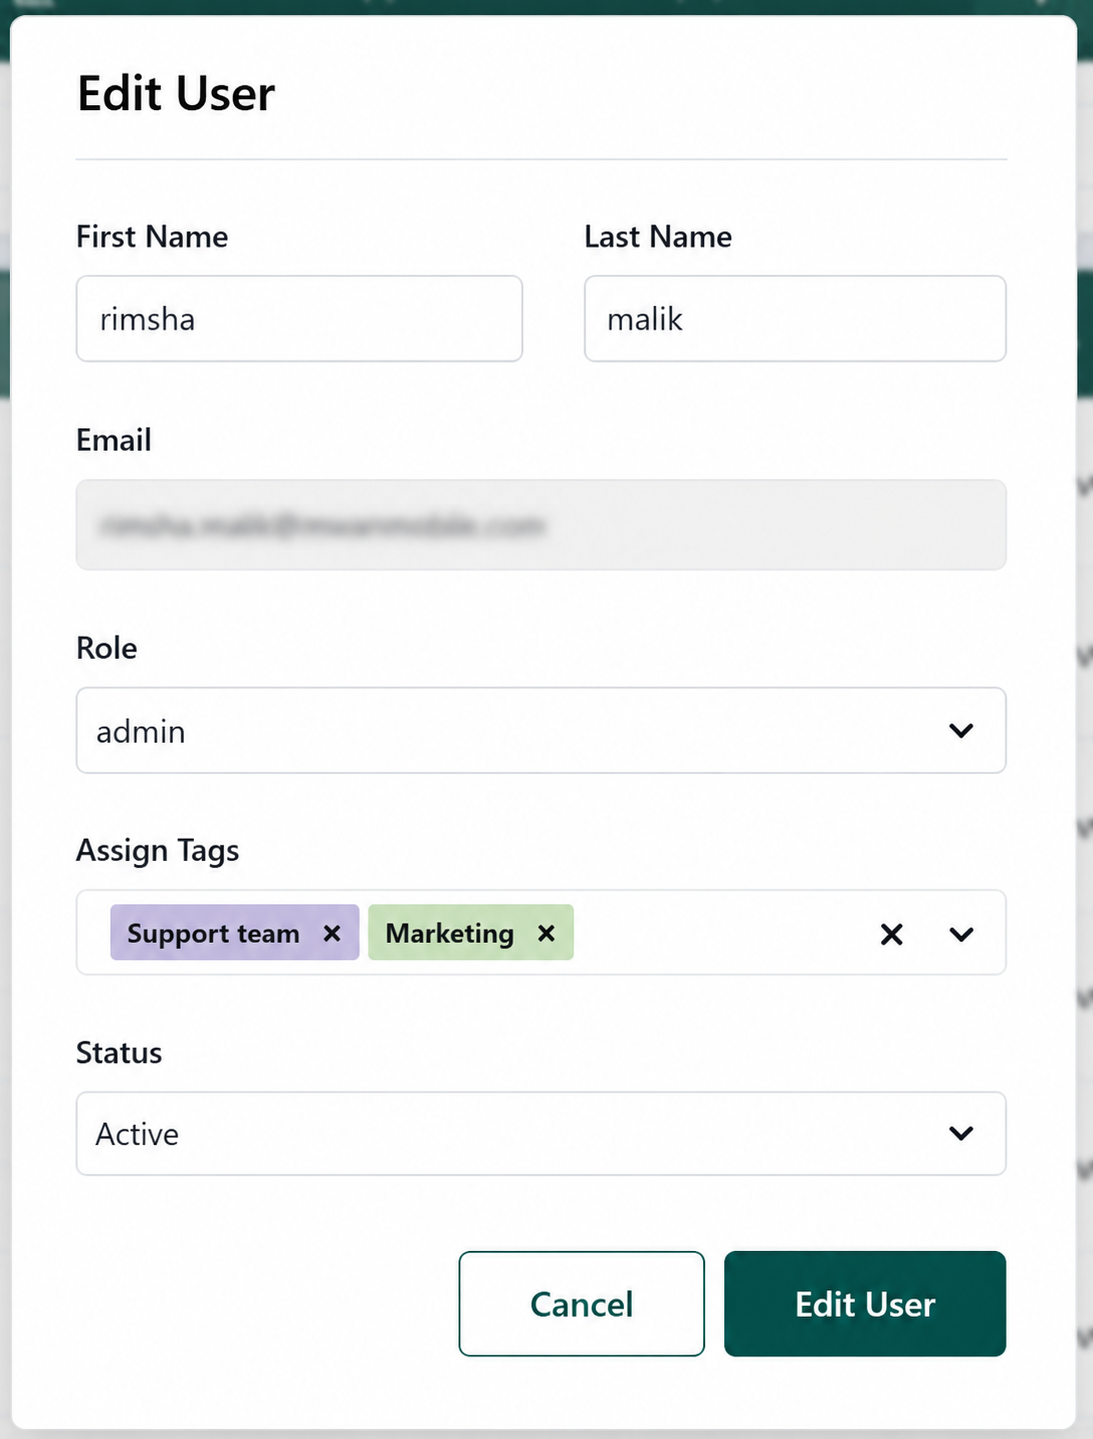
Step 5 — Edit an agent user
To edit an agent user:
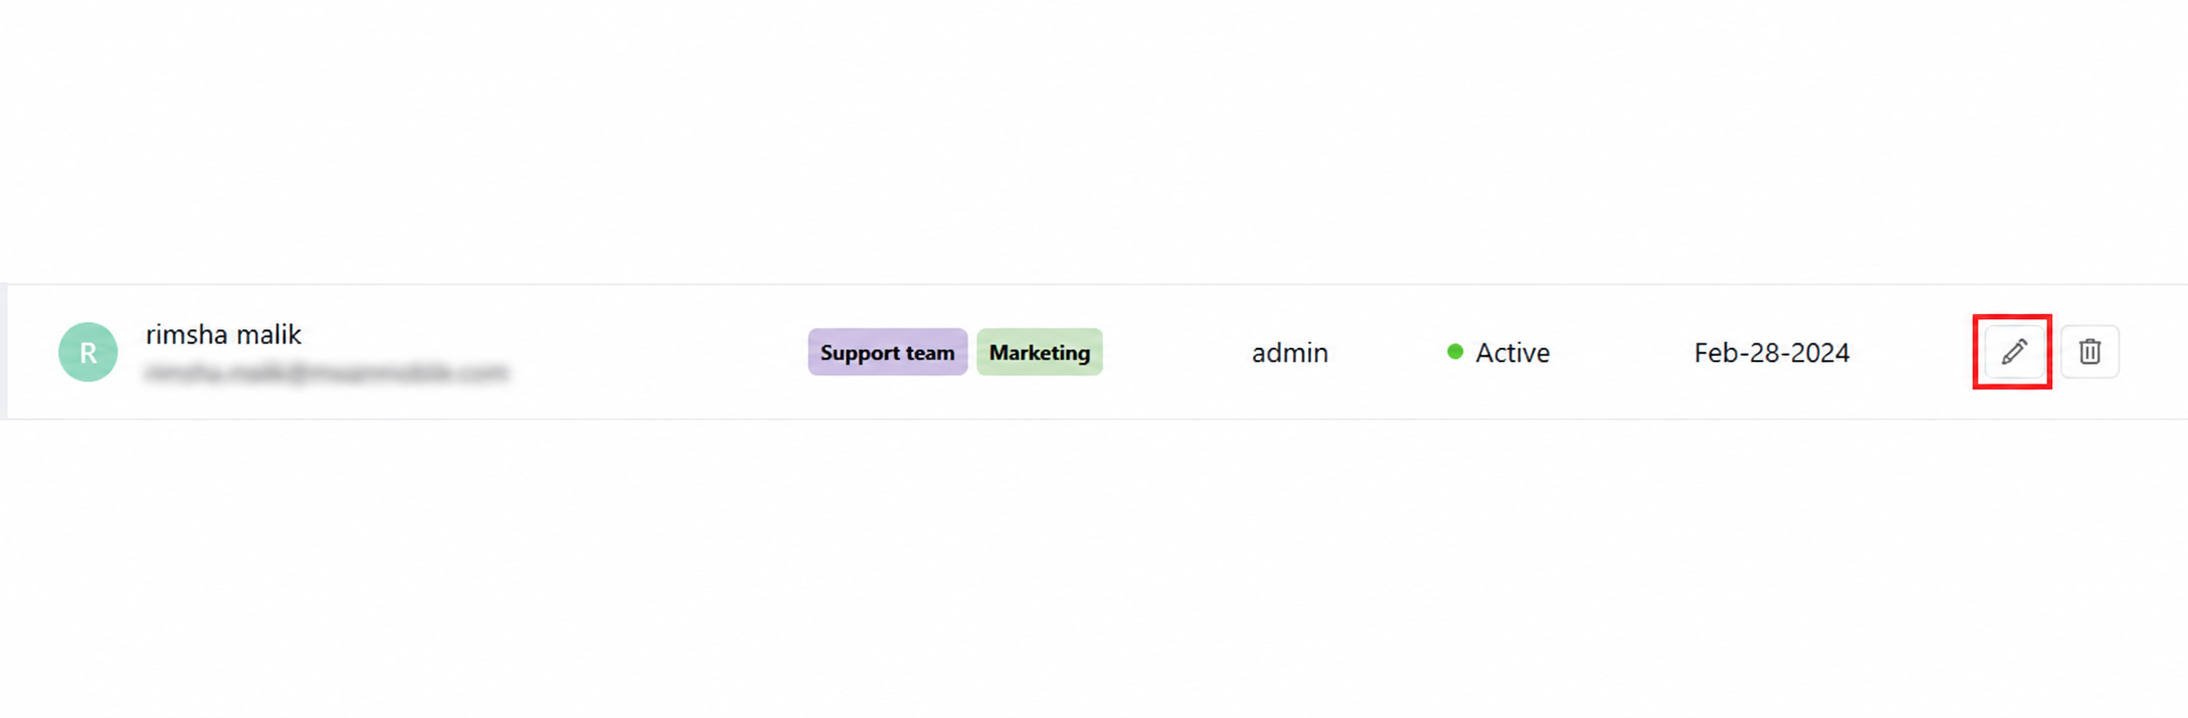
- Locate the user in the Users list.
- Click the Edit icon.
- Update the permitted user settings.
- Click Edit User to save the changes.
The admin can modify:
- Role
- Assigned tags
- User status (Active / Inactive)
The admin cannot change the user's:
- First name
- Last name
- Email address
After clicking Edit User, the updated settings are reflected for the user.
If the first name, last name, or email address needs to be changed, the provided documentation does not specify a process for doing so.
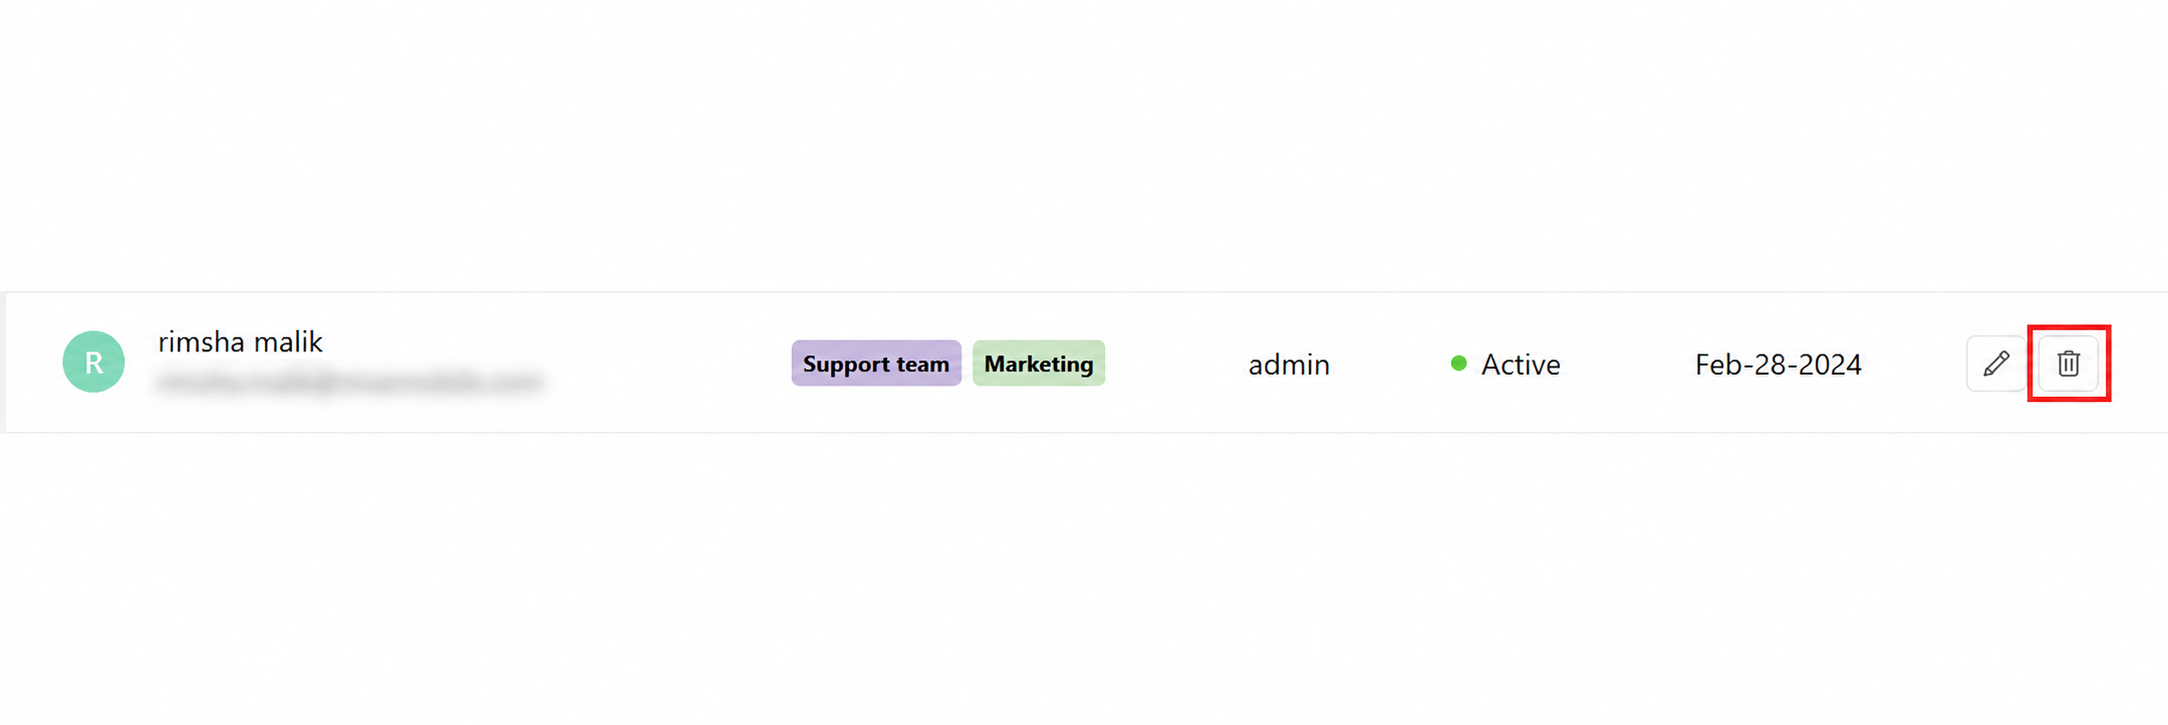
Step 6 — Delete an agent user
To delete an agent user:
- Locate the user in the Users list.
- Click the Delete icon in the Actions column.
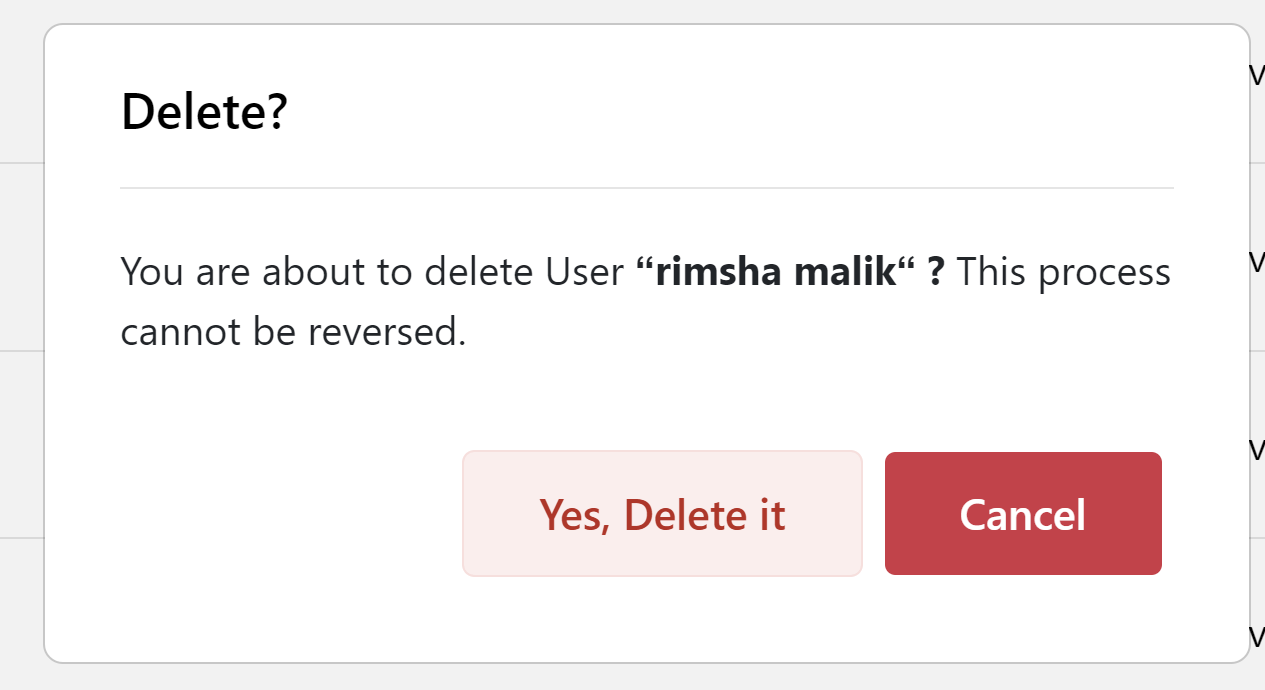
- Review the confirmation prompt.
- Click Yes, Delete it to confirm.
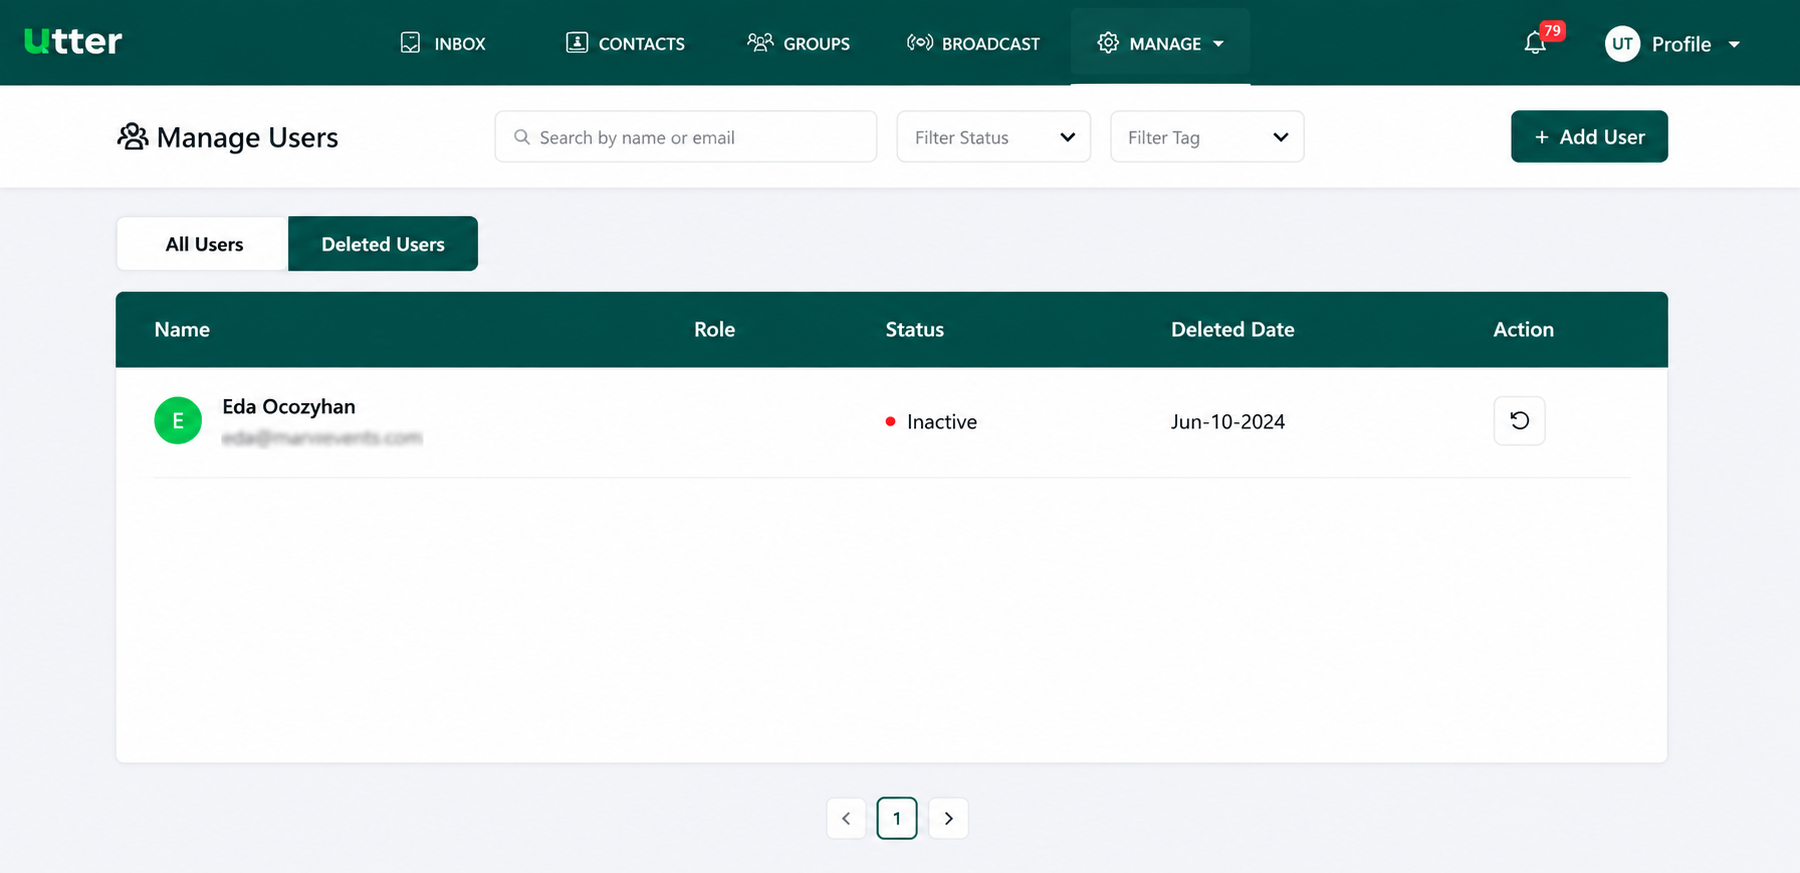
The user is permanently deleted after confirmation. The source documentation states that this action is irreversible and that the user and associated data cannot be recovered.
Deleting an agent user is irreversible according to the provided documentation. Make sure you have selected the correct user before confirming the deletion.
Quick reference
| Action | How it works |
|---|---|
| Add user | Click Add User and enter the agent's details |
| Search | Search by name or email |
| Filter | Filter by status or tag |
| Edit | Click Edit, modify permitted settings, then click Edit User |
| Delete | Click Delete, then confirm with Yes, Delete it |
Need more detail?
- See the Contacts guide for managing contacts and groups.
- See the Broadcast guide for sending or scheduling broadcasts.
- See the Templates guide for managing message templates.