Templates
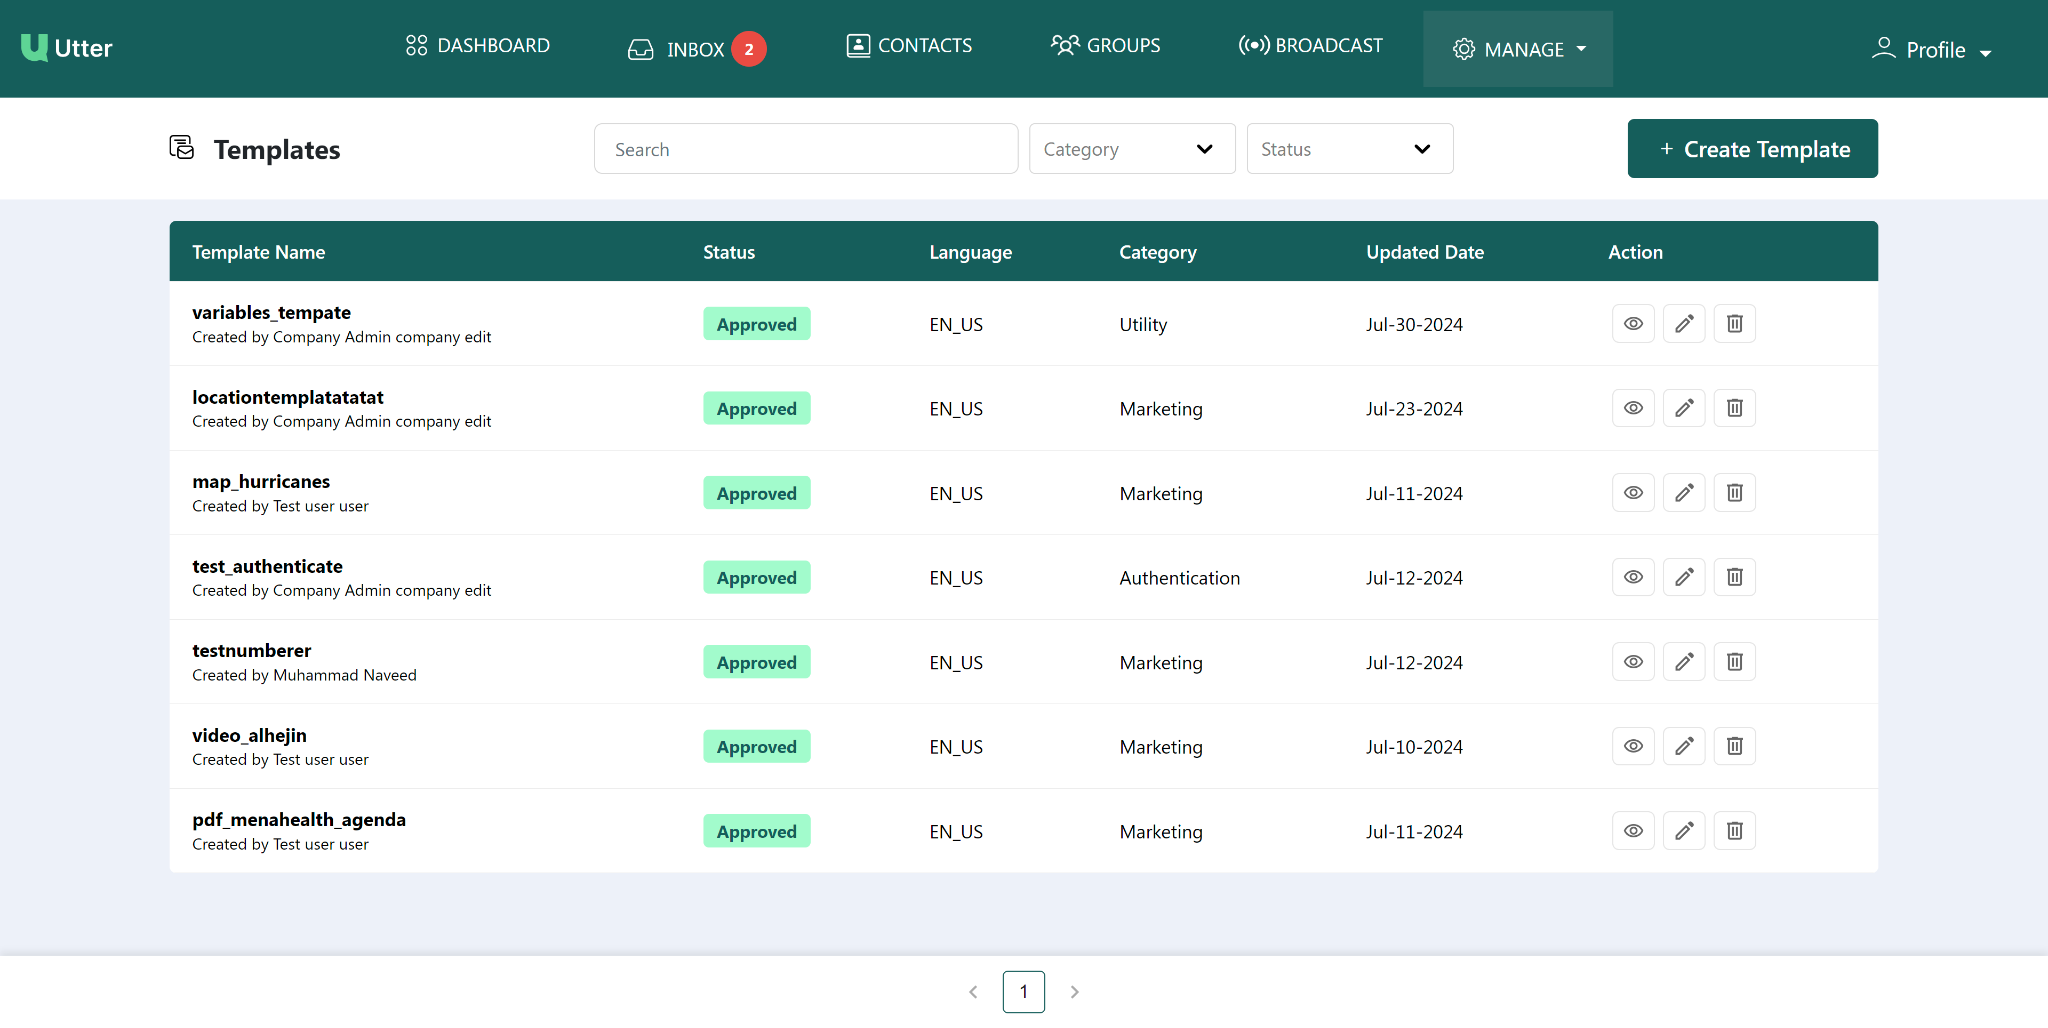
The Templates section allows admins to create and manage WhatsApp message templates from one centralized location.
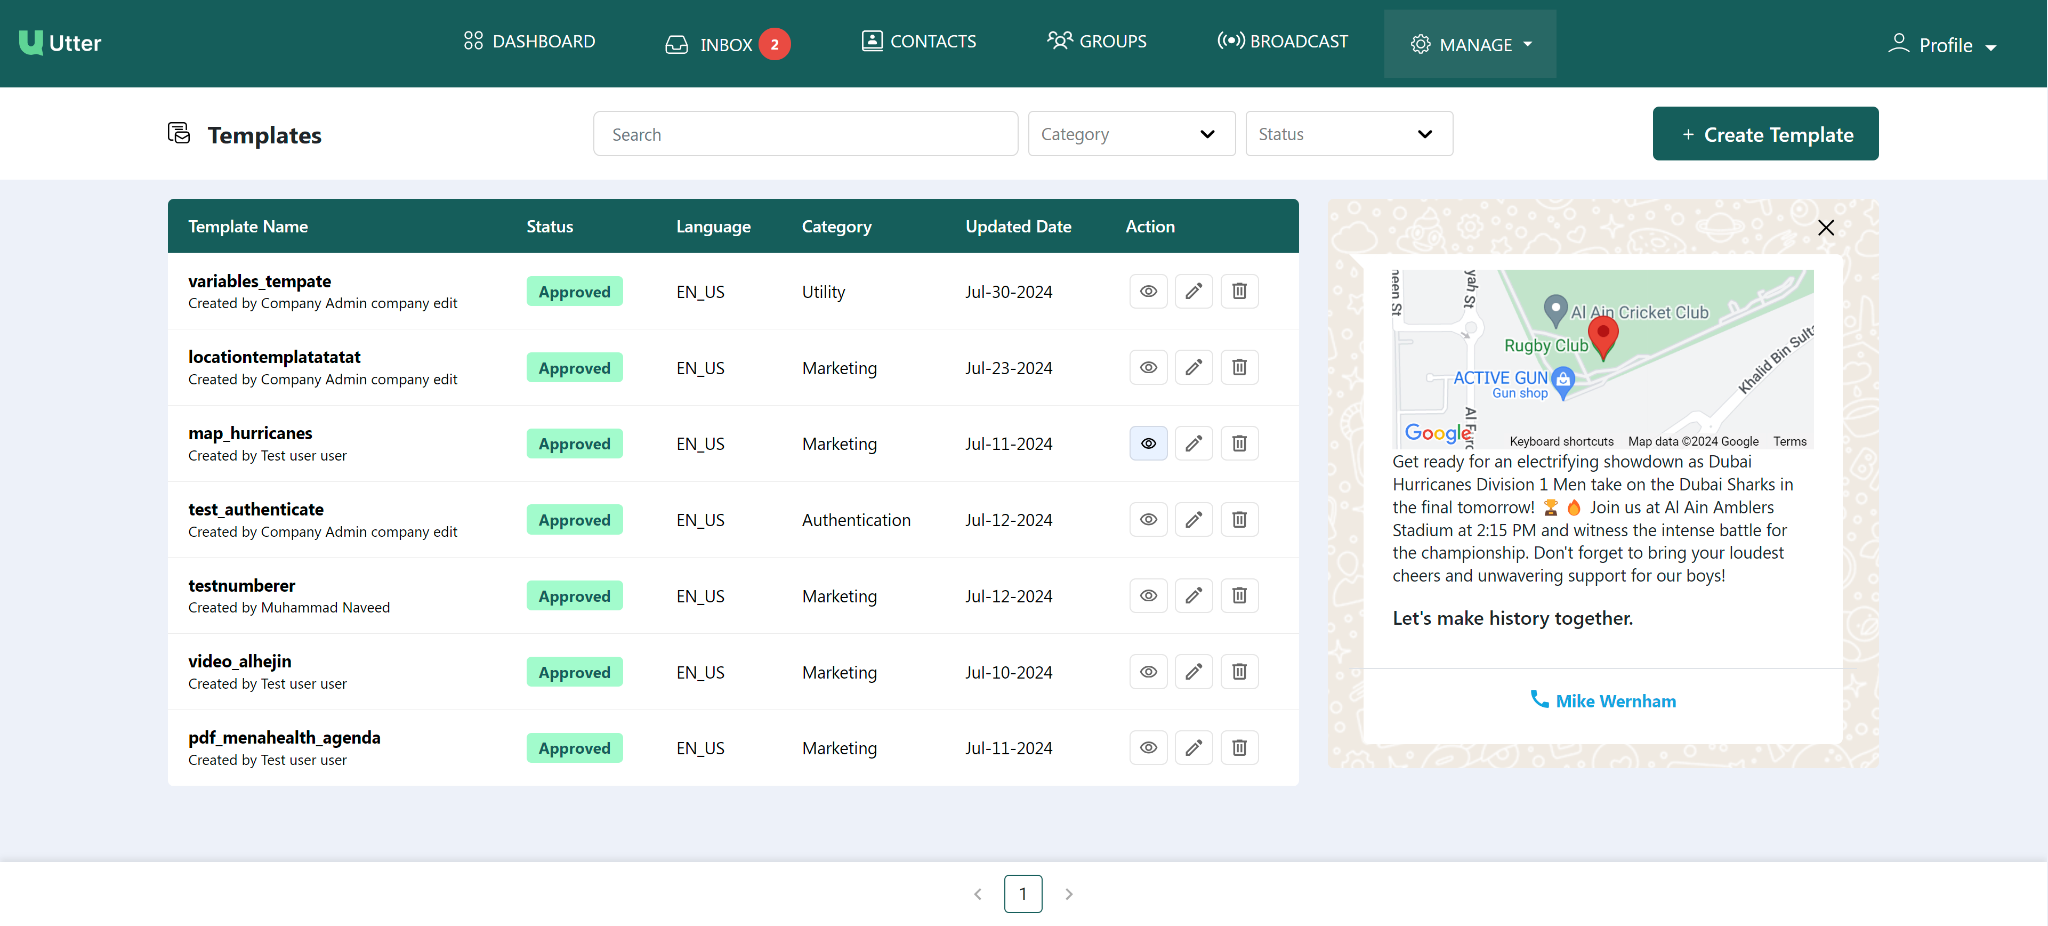
To open Templates, go to Manage → Templates. The Templates page provides an overview of available templates, including their name, description, approval status, template type, updated date, and available actions.
Templates at a glance
Important: Templates must be approved by Meta before they can be used. If a template is rejected, the provided feedback can be used to revise and resubmit it.
Step 1 — Open Templates
- Log in to Utter as an admin.
- Open Manage.
- Select Templates.
- Review the available templates.
The Templates page shows the overall number of templates and their status, including Approved, Pending, and Rejected templates.



Step 2 — Create a new template
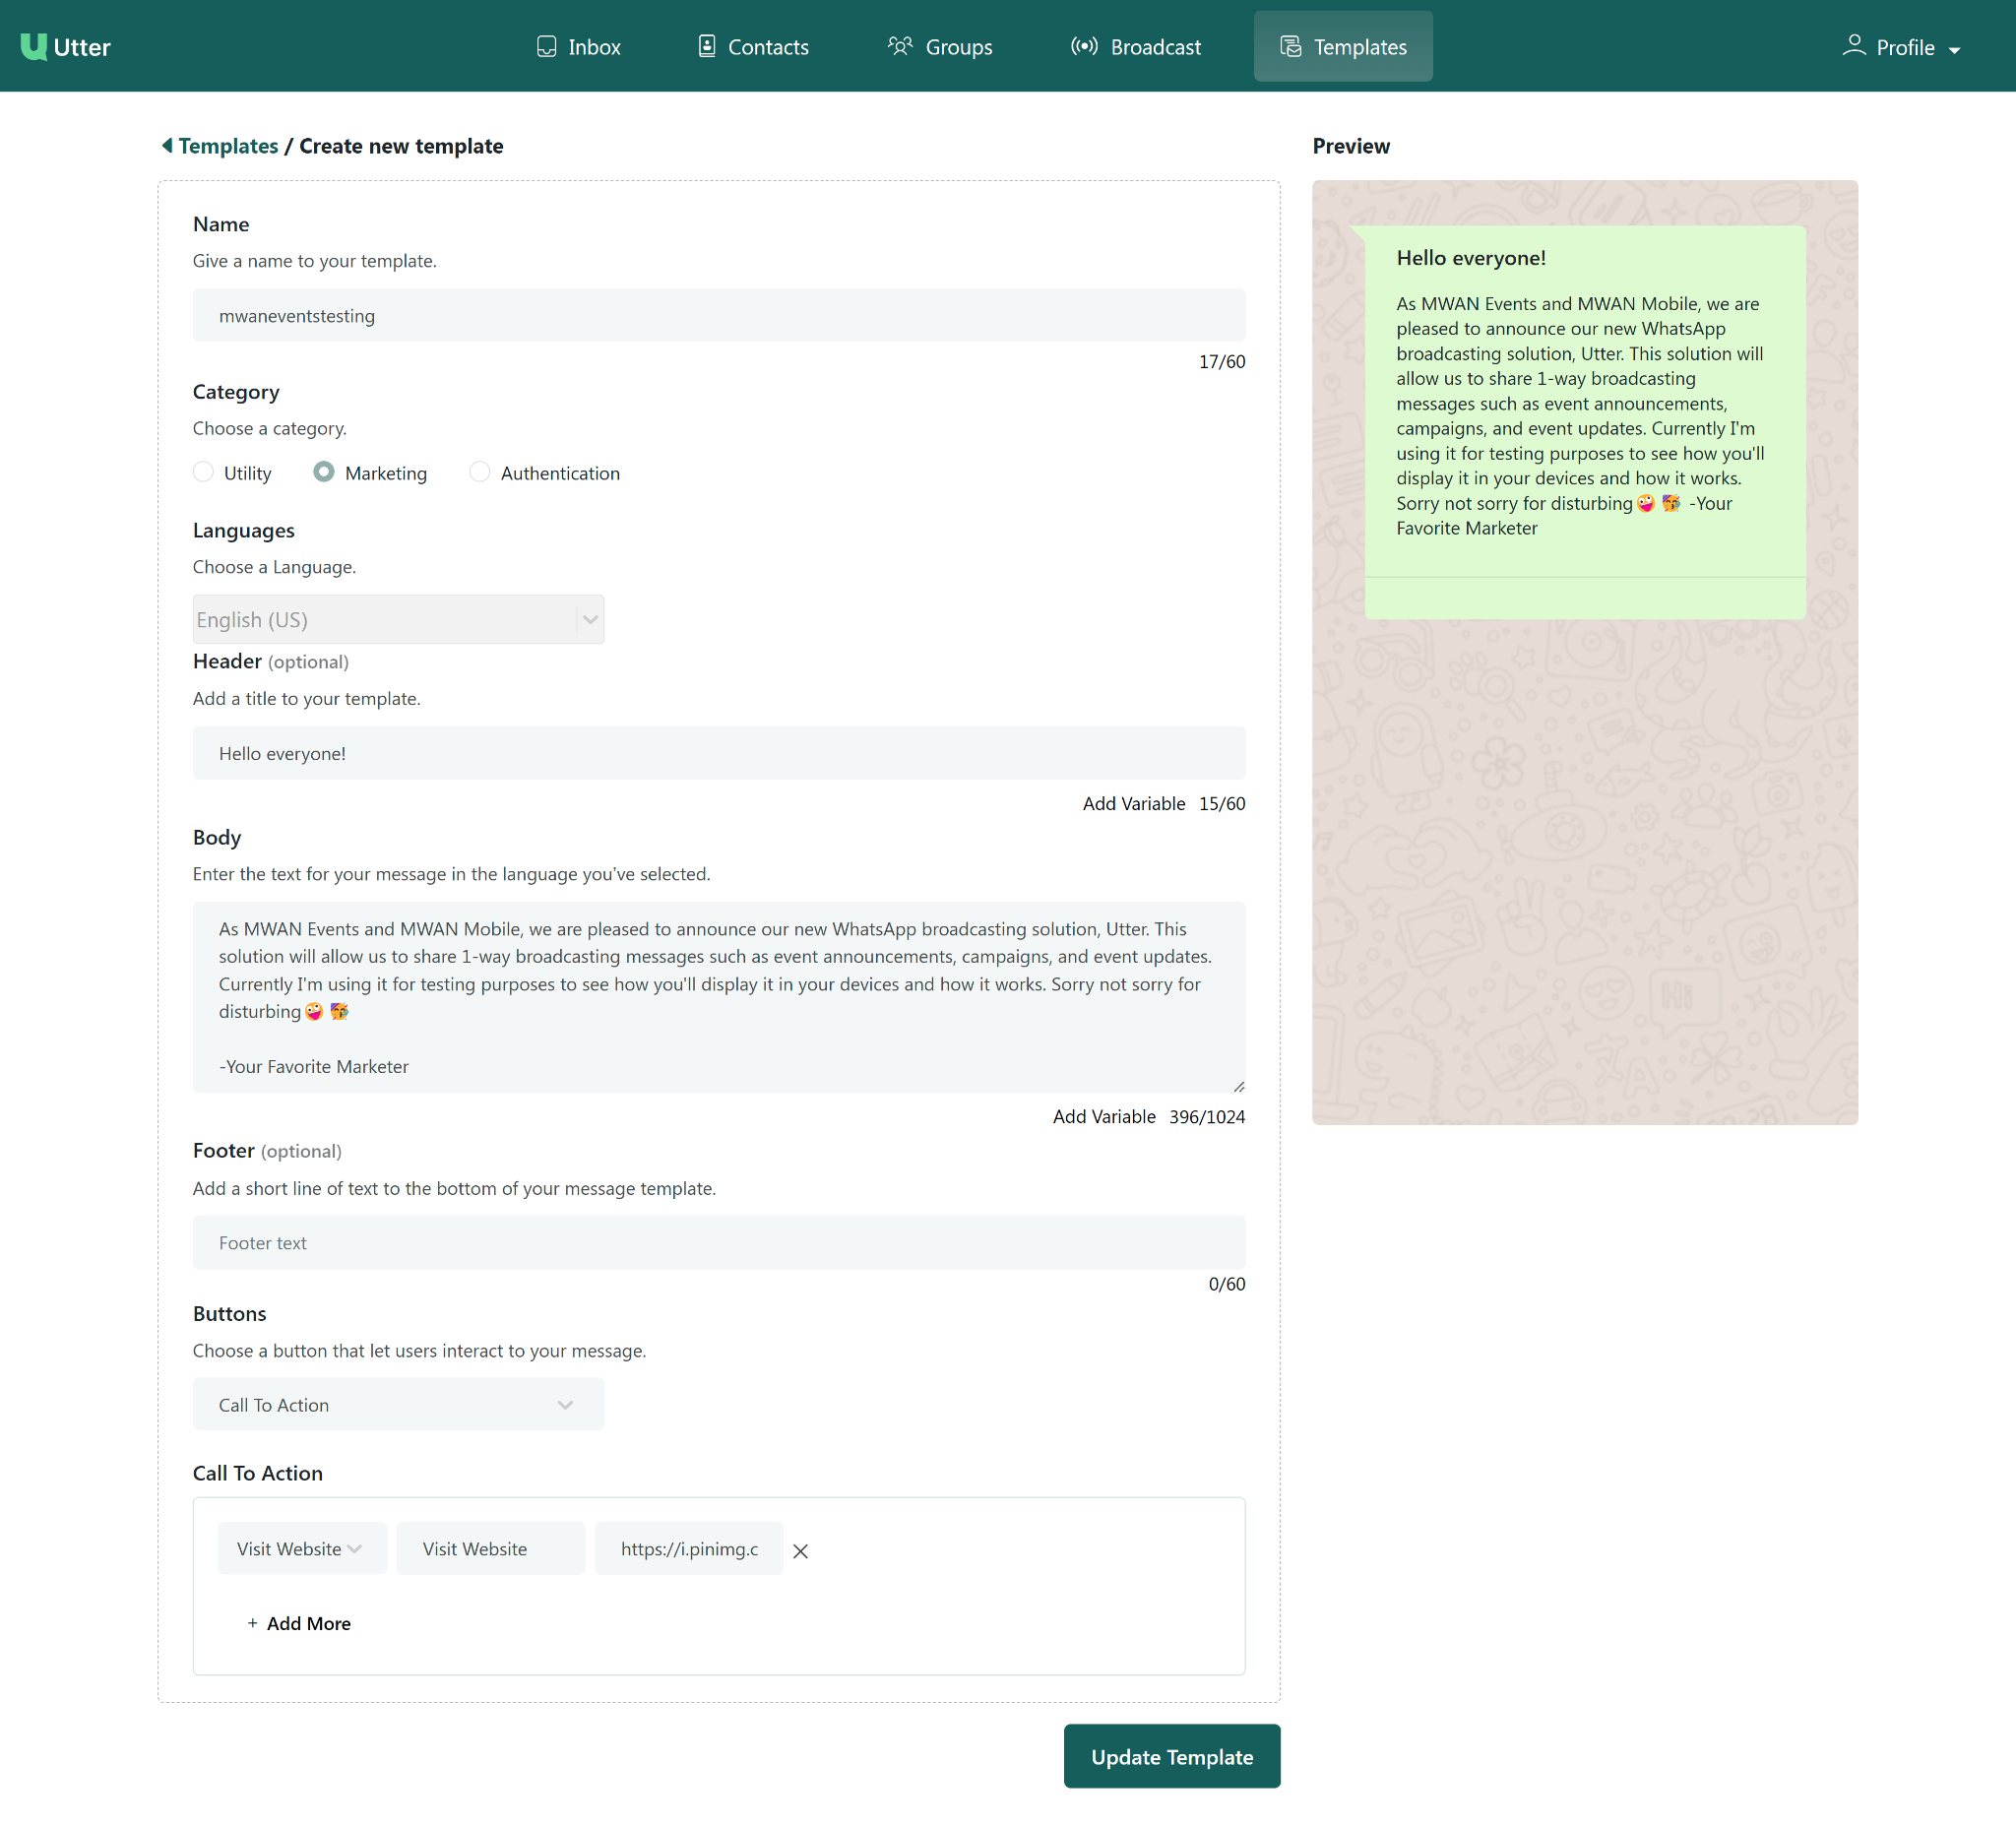
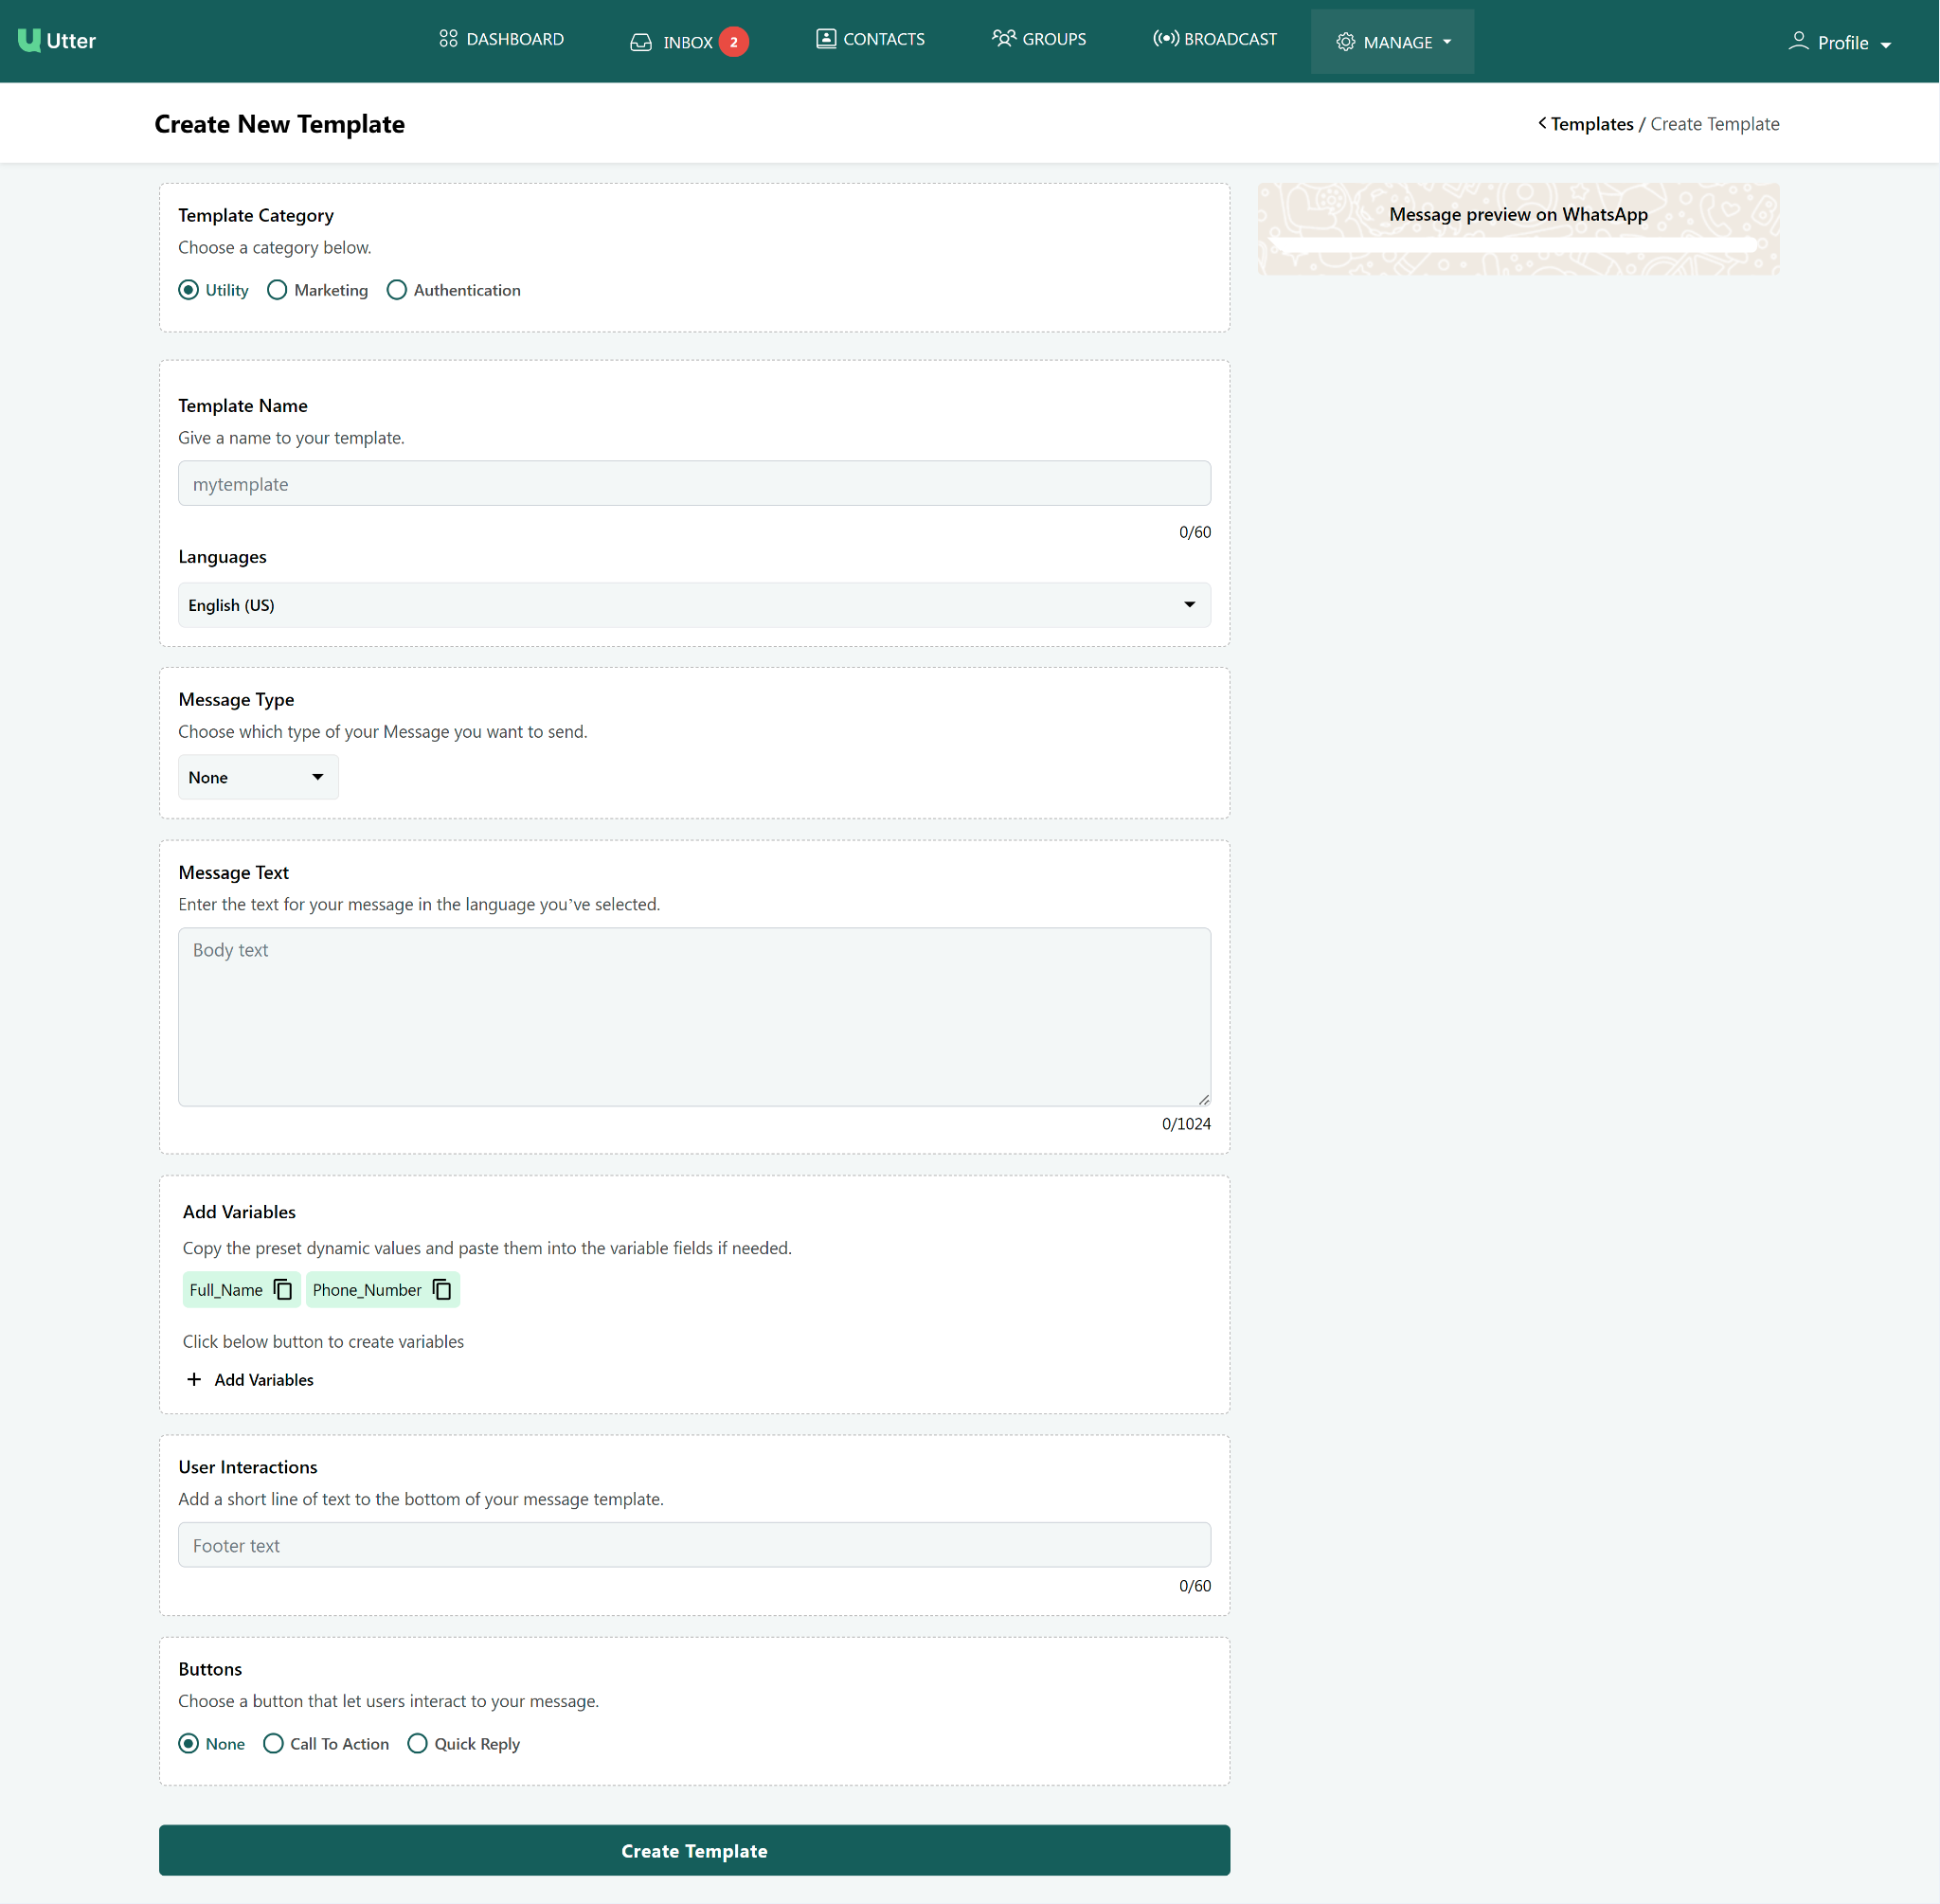
Click Create Template to start creating a new WhatsApp template.
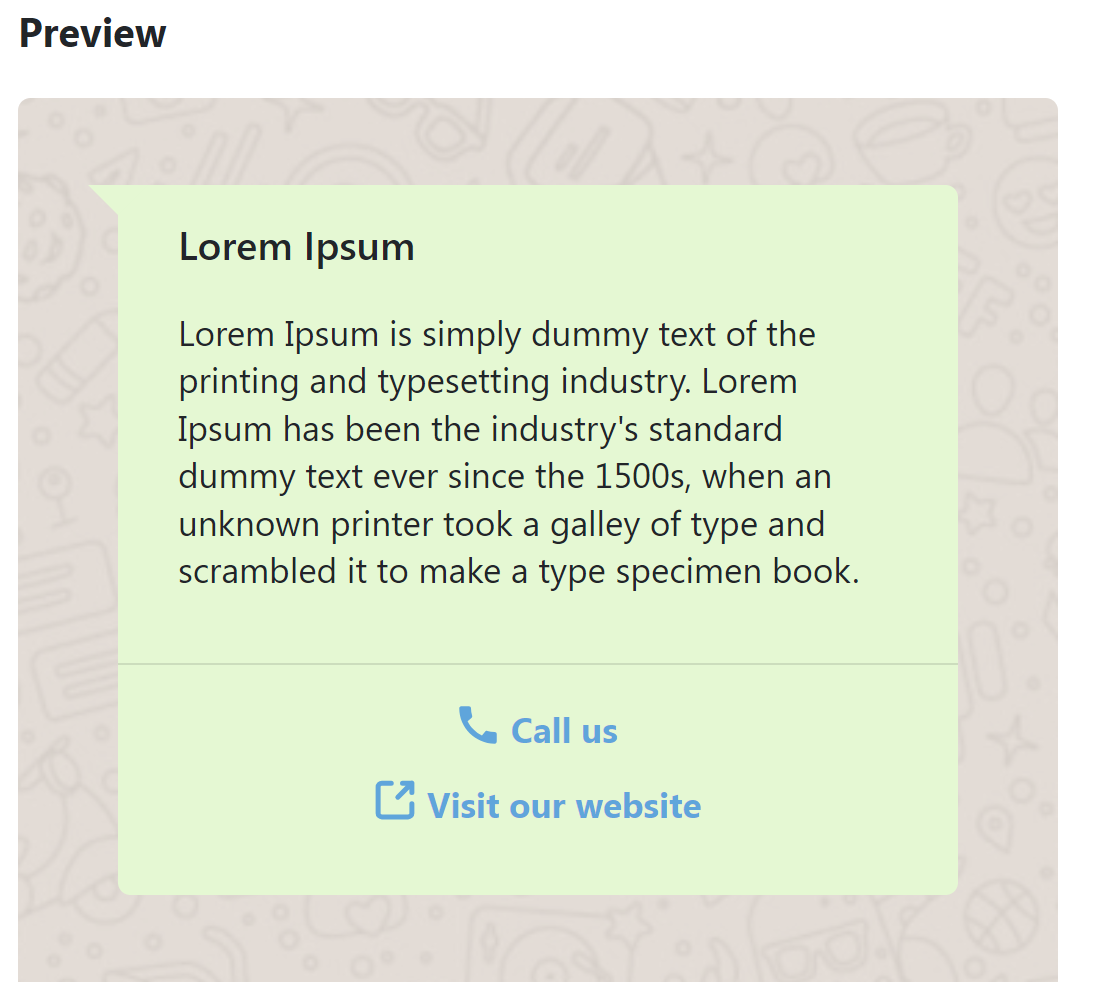
While creating a template, Utter provides a side-by-side preview so you can see how the template will appear while you make changes.
Template information
Complete the following fields:
| Field | What to enter |
|---|---|
| Category | Select Utility, Marketing, or Authentication. |
| Template Name | Enter the template name in lowercase. Use underscores (_) instead of spaces and avoid special characters. |
| Language | Select English UK or English US. |
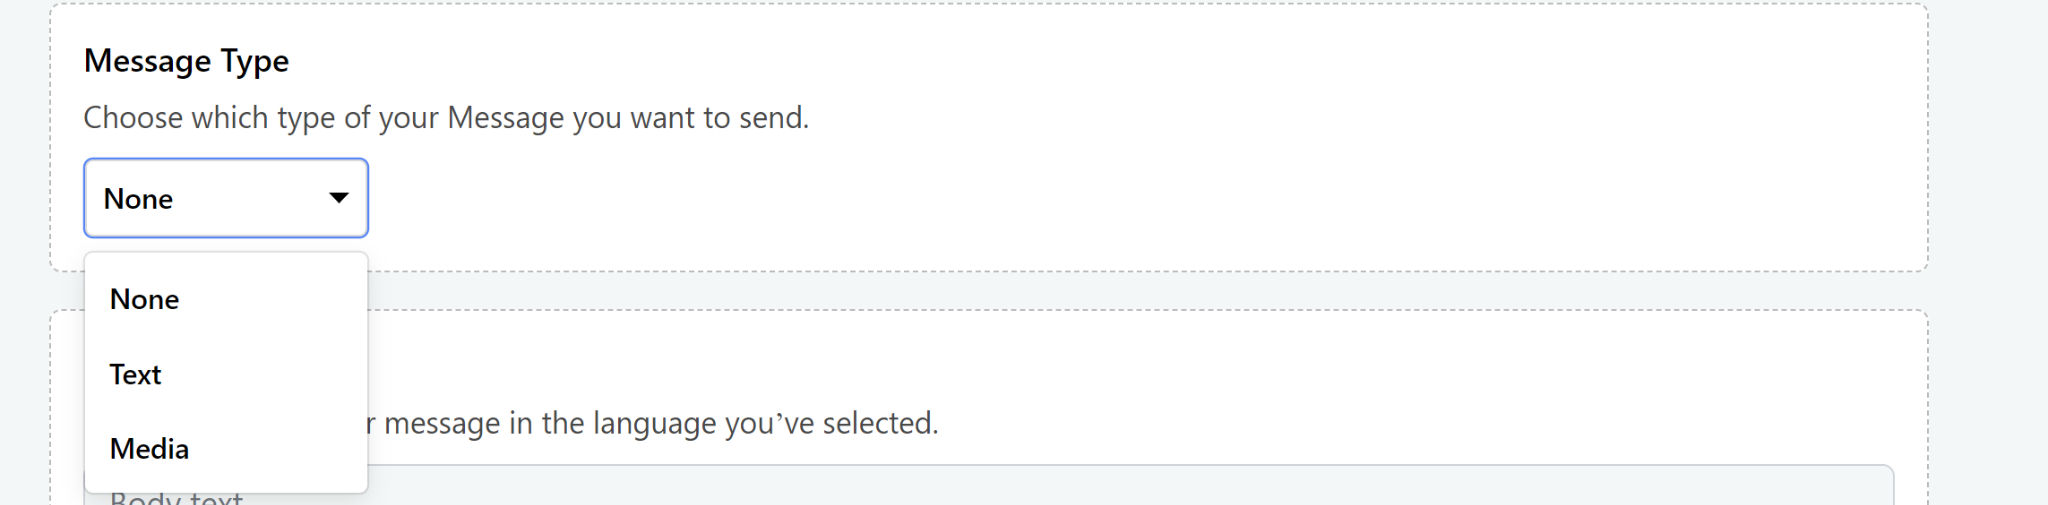
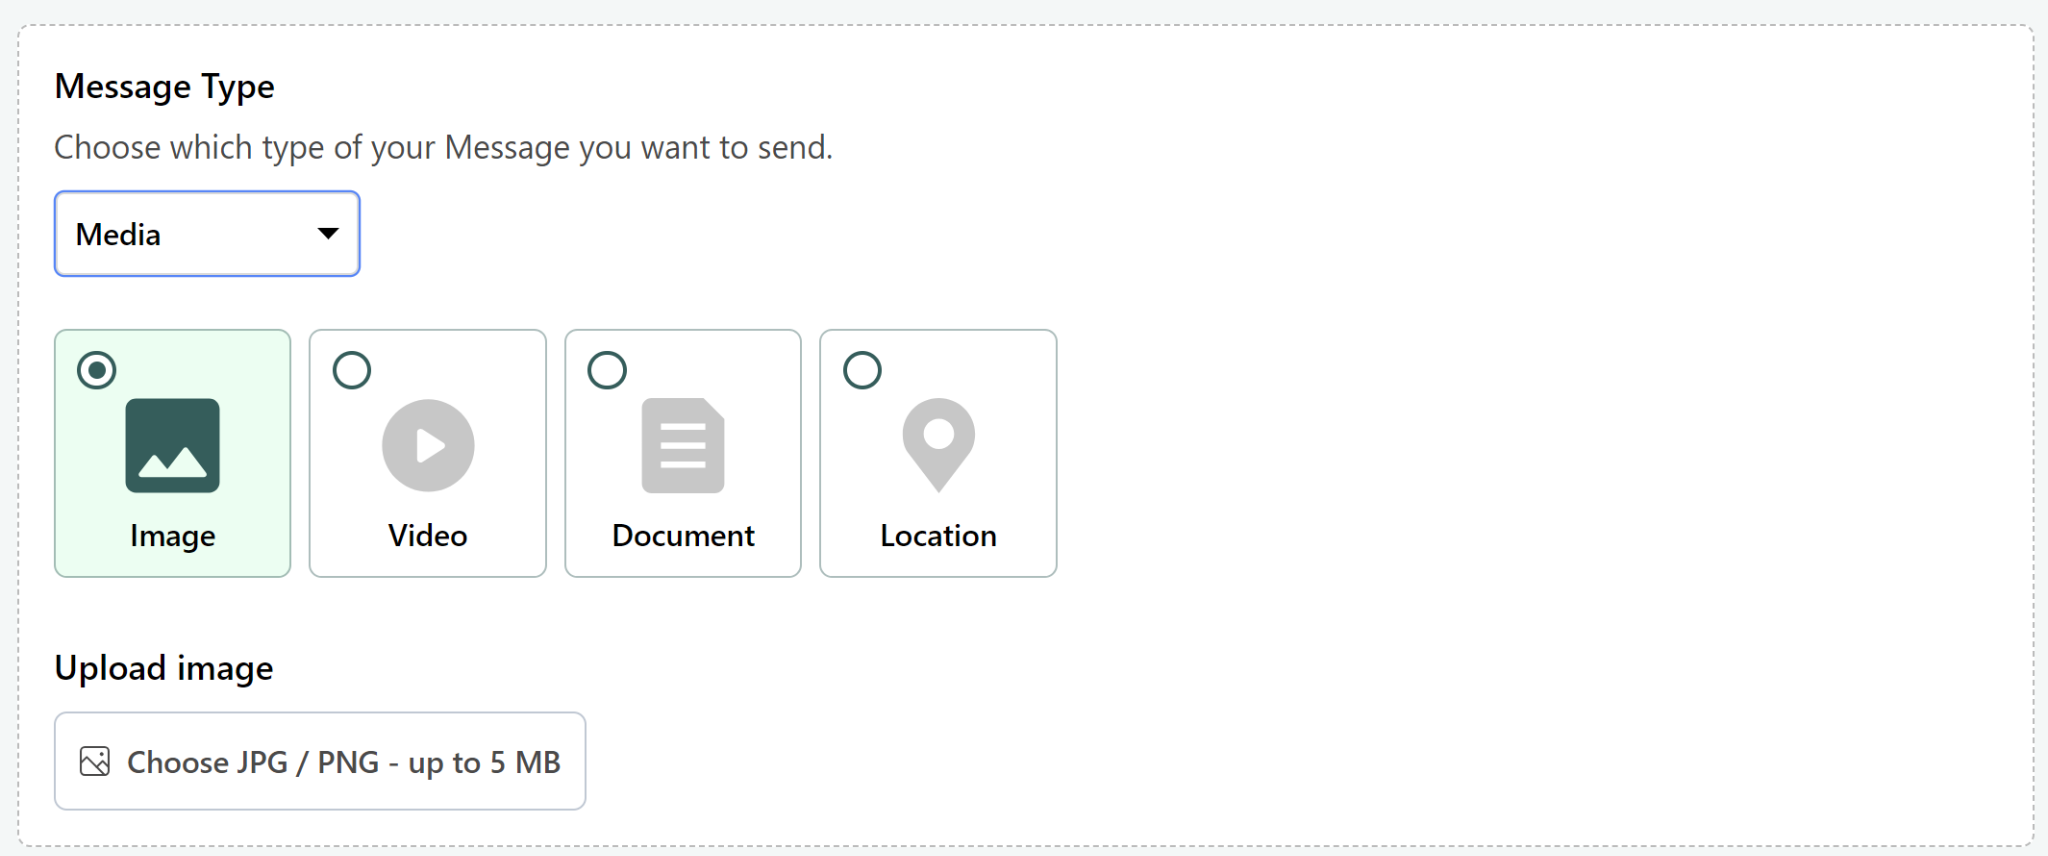
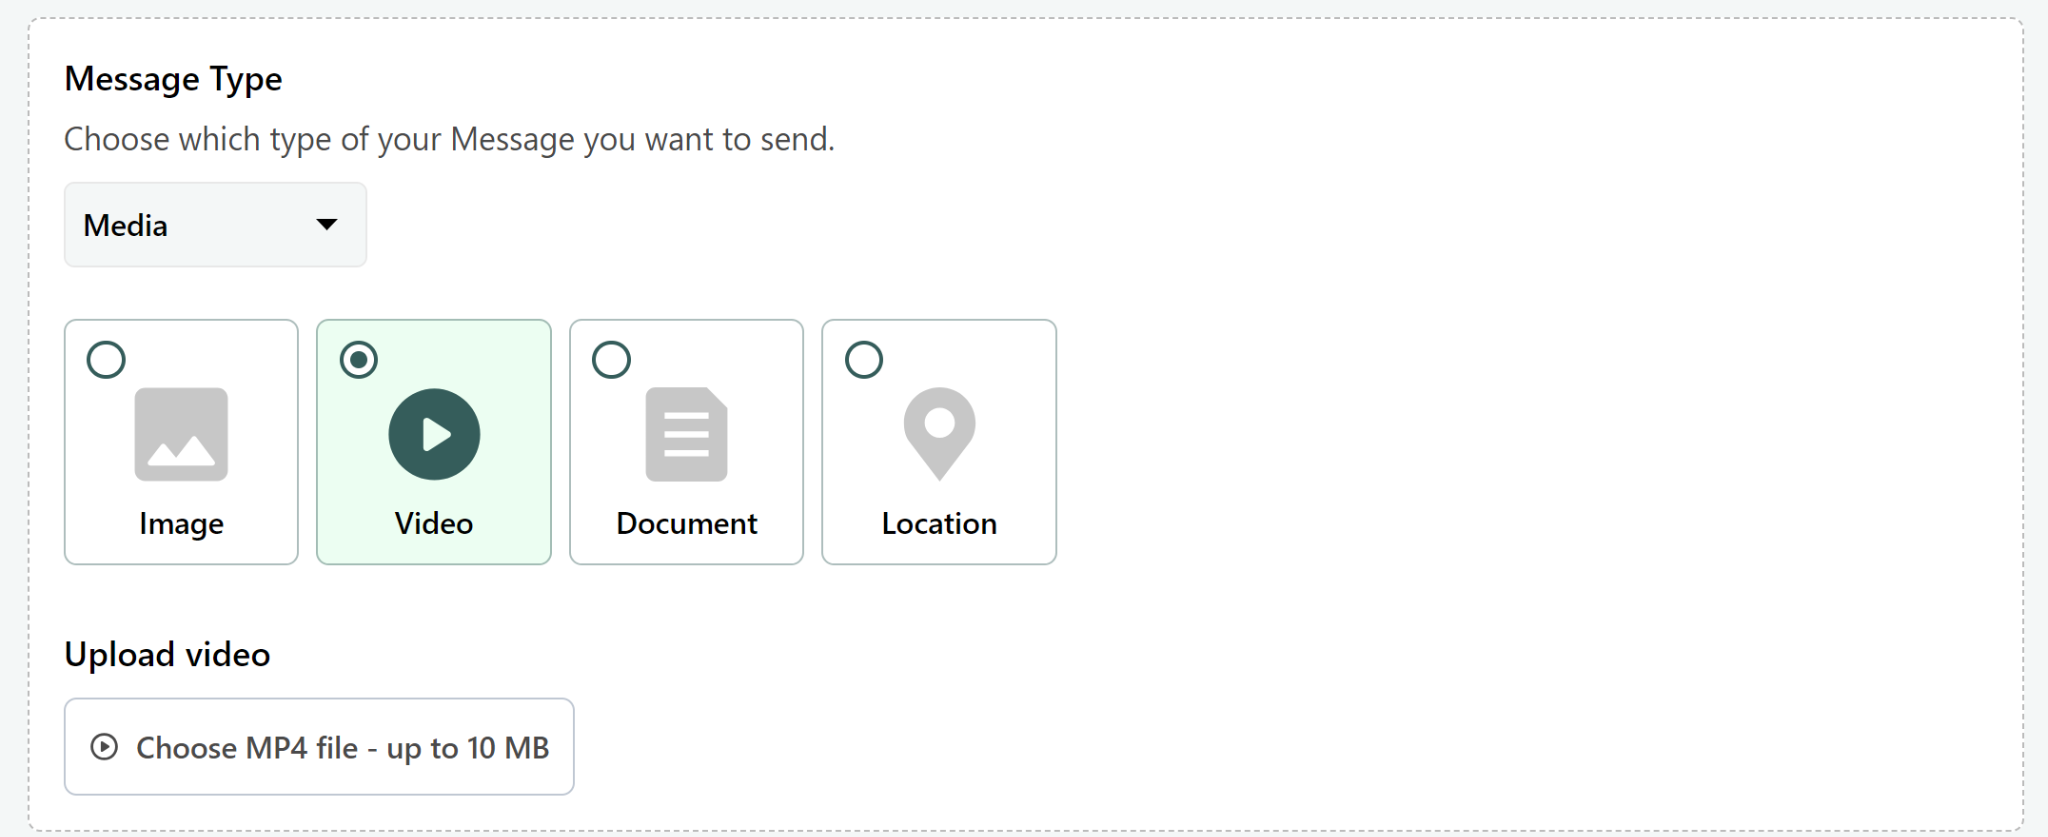
| Message Type / Header | Select Text or Media. |
These fields and options are described in the source documentation.
Step 3 — Configure the header
Choose the header type for your template.
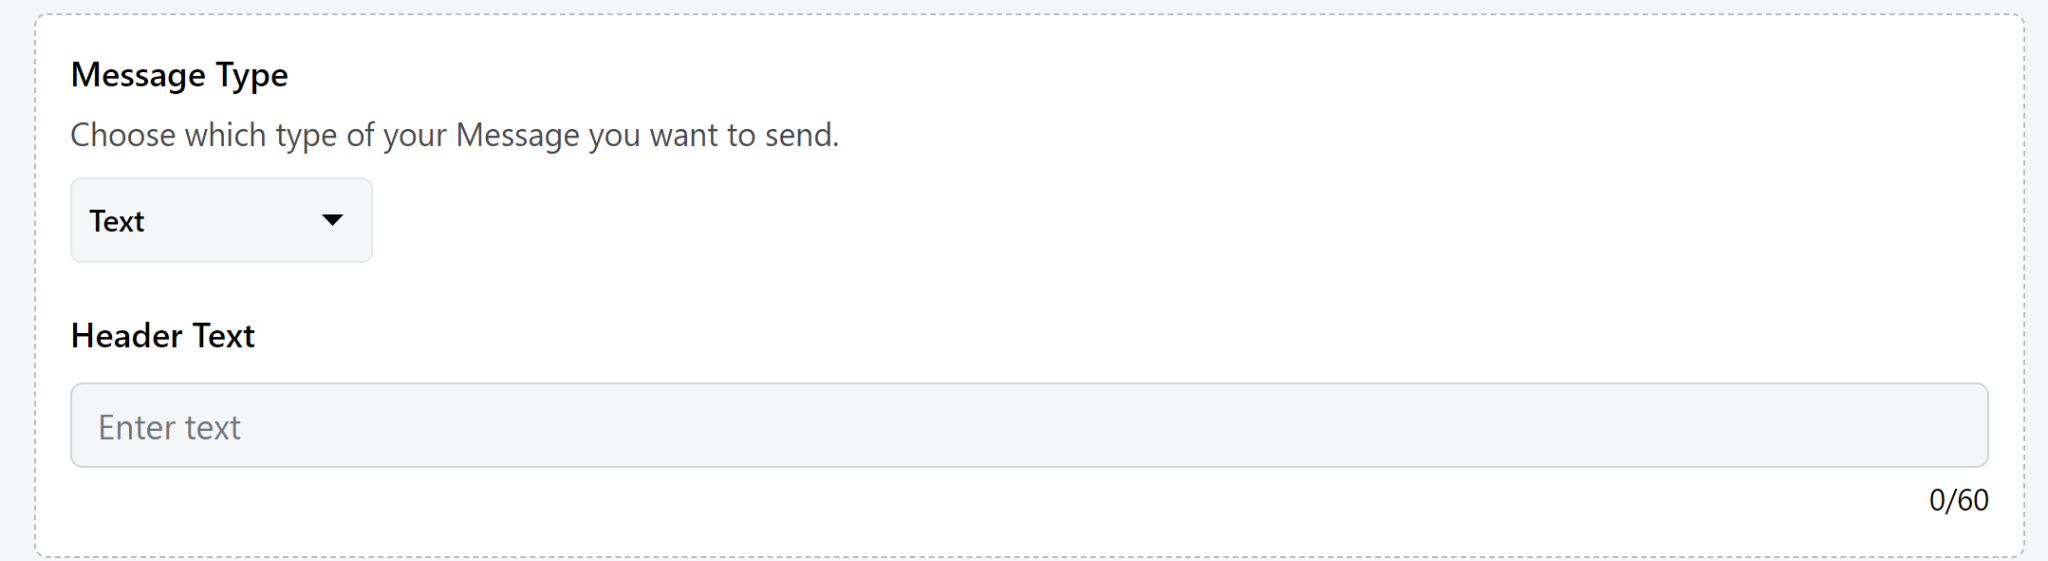
Text header
If you select Text, enter the header/subject text. The source specifies a maximum of 60 characters.
Media header
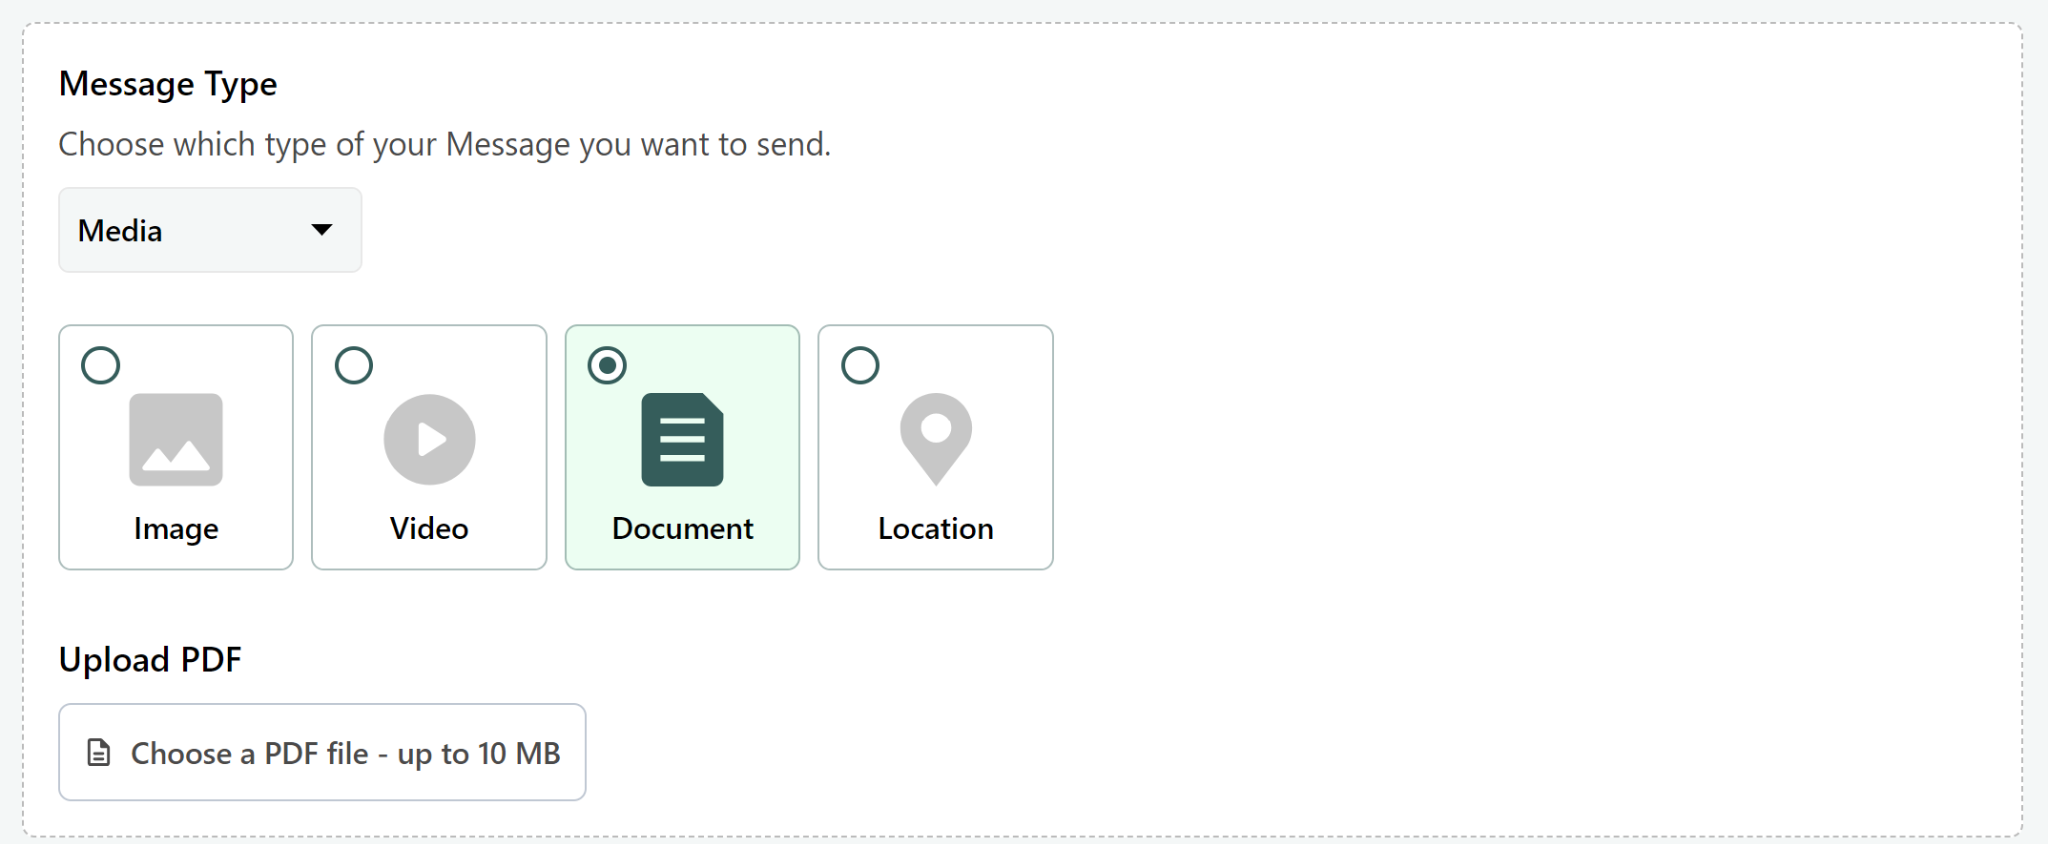
If you select Media, you can use the supported media options below:
| Media type | File requirement |
|---|---|
| Image | JPG/PNG, up to 5 MB |
| Video | MP4, up to 10 MB |
| Document | PDF, up to 10 MB |
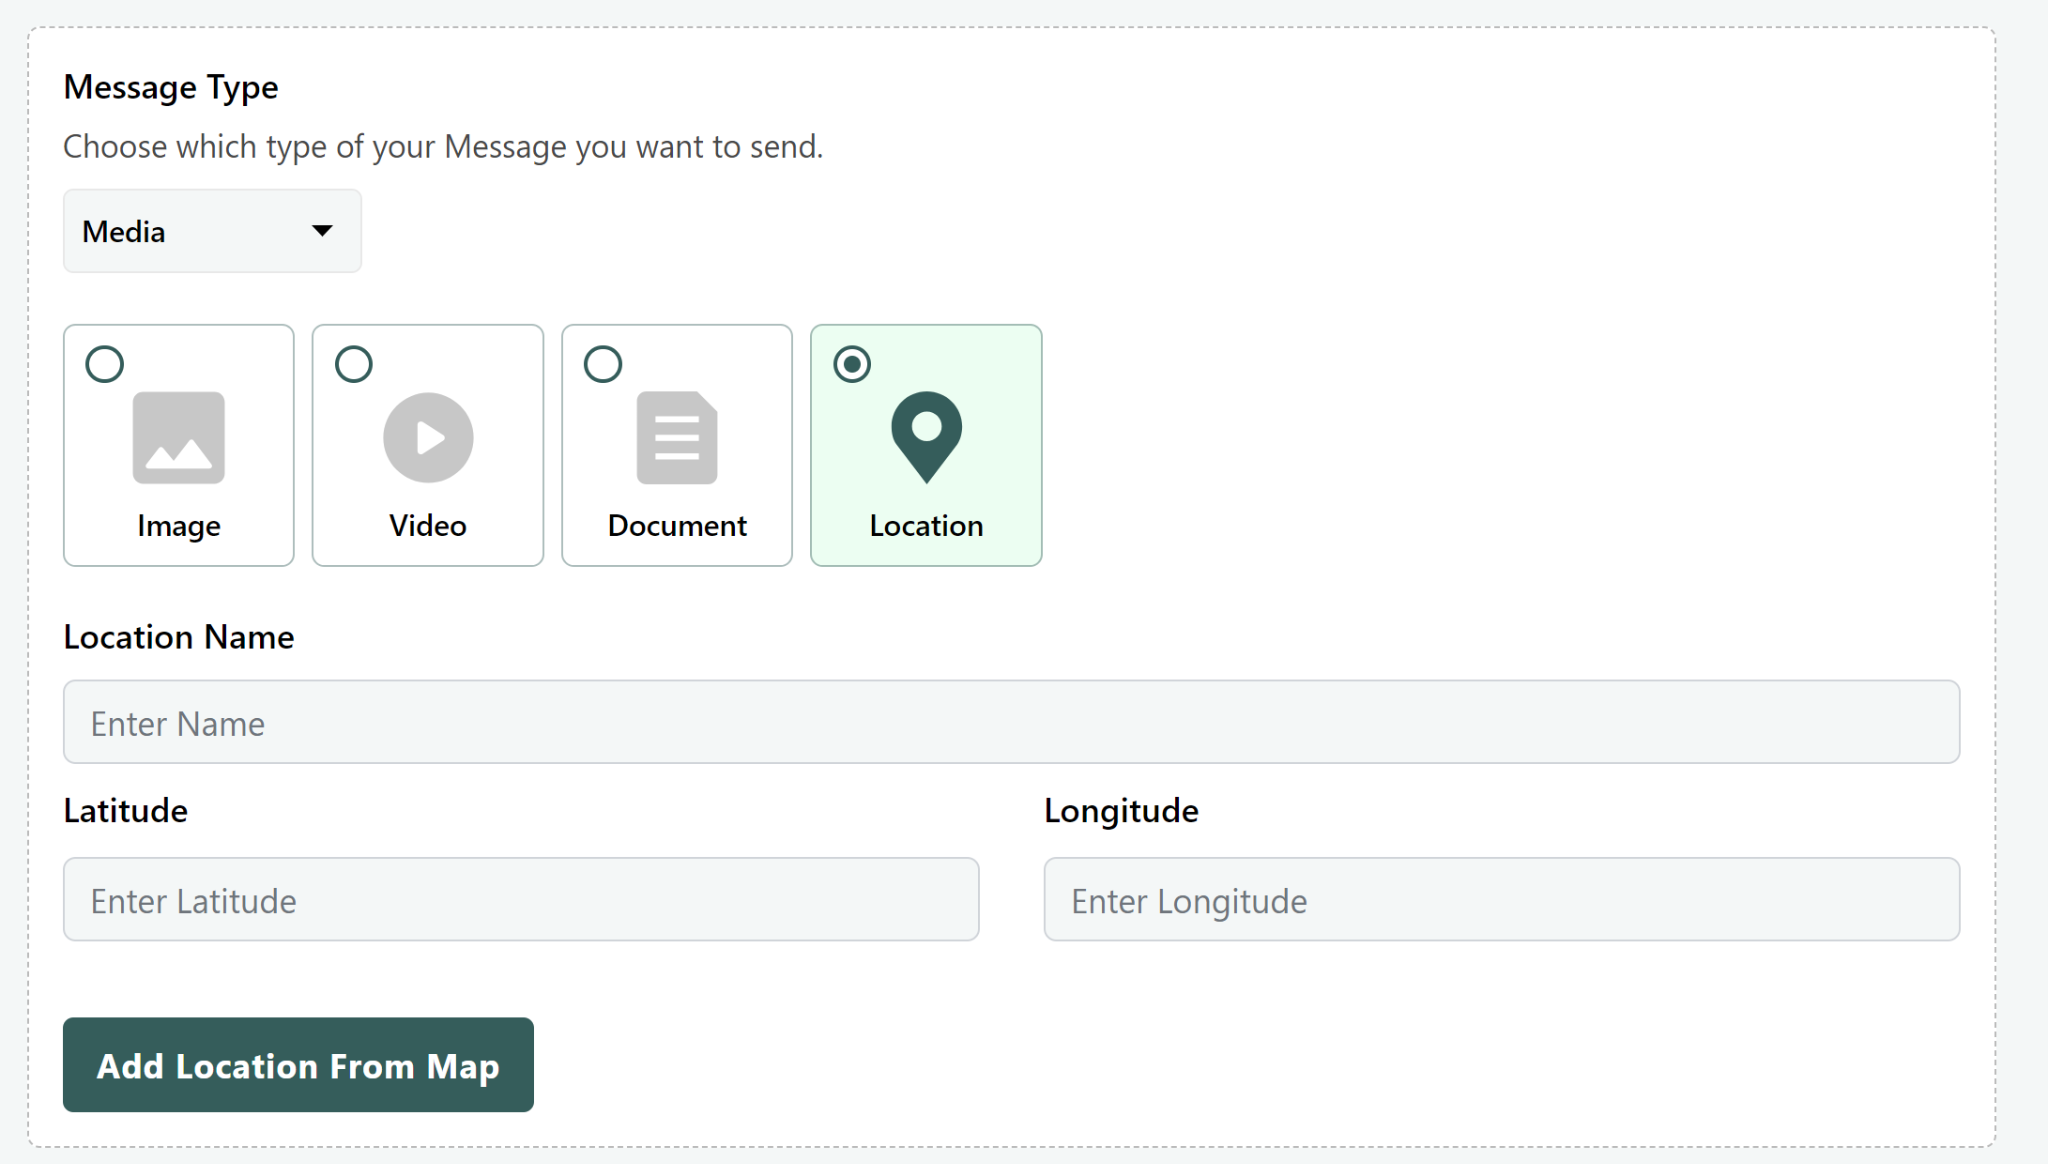
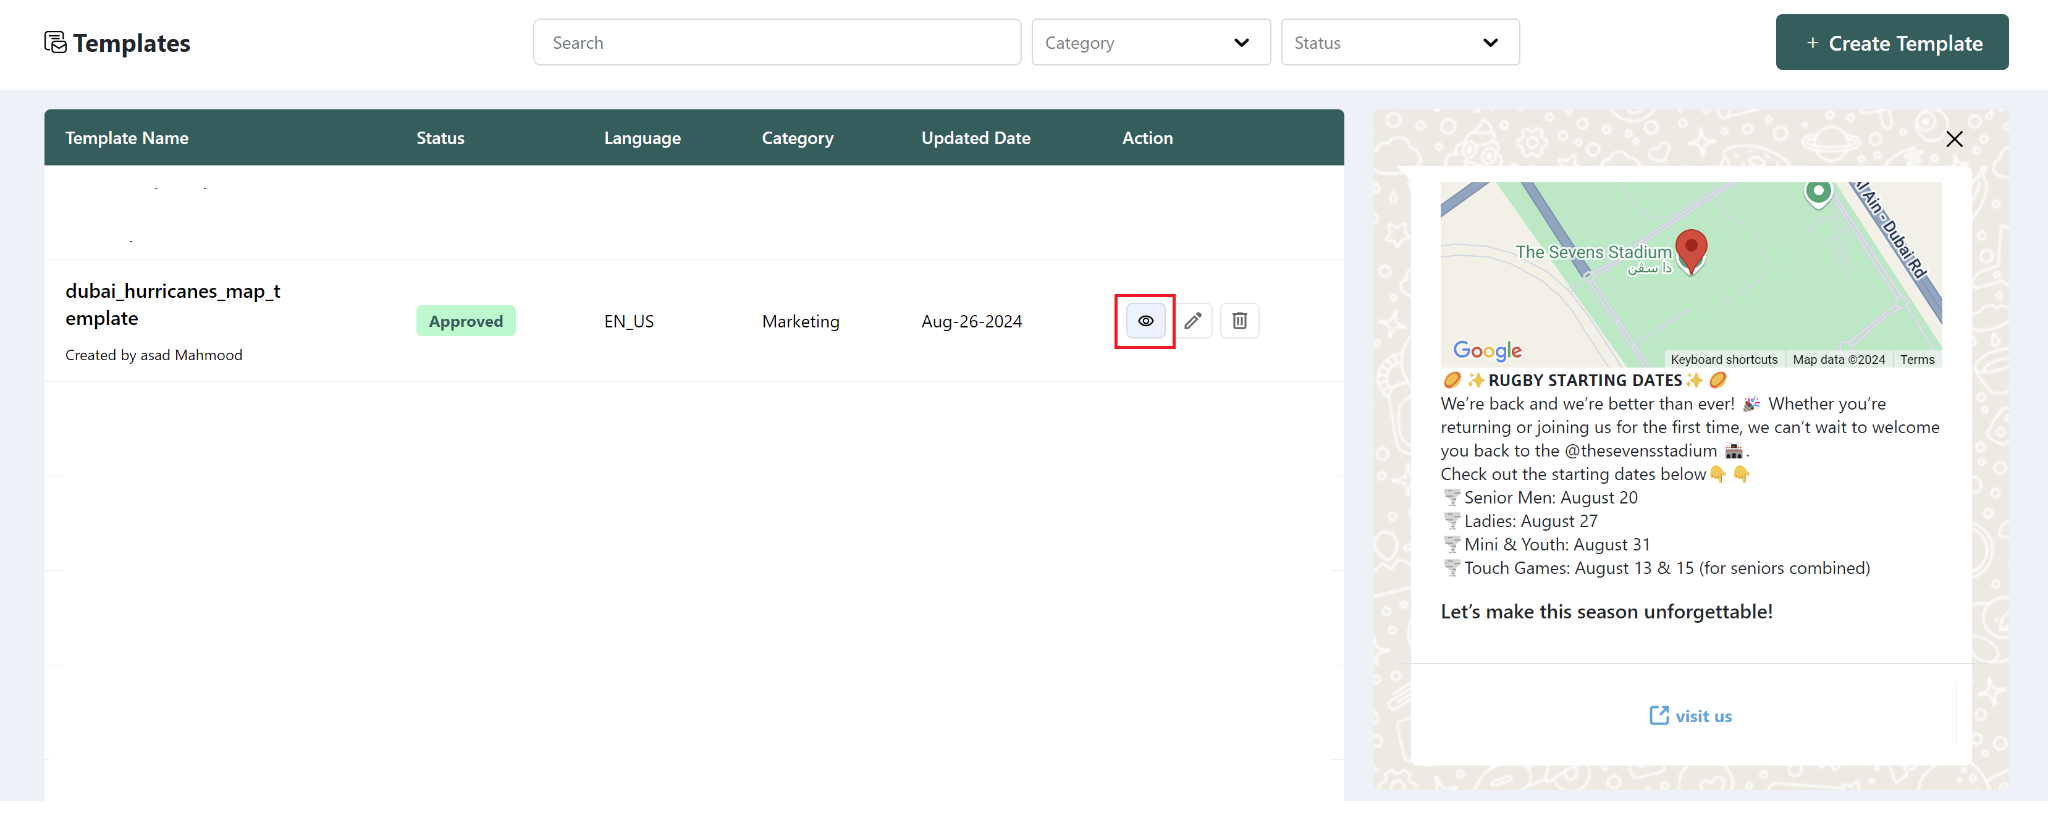
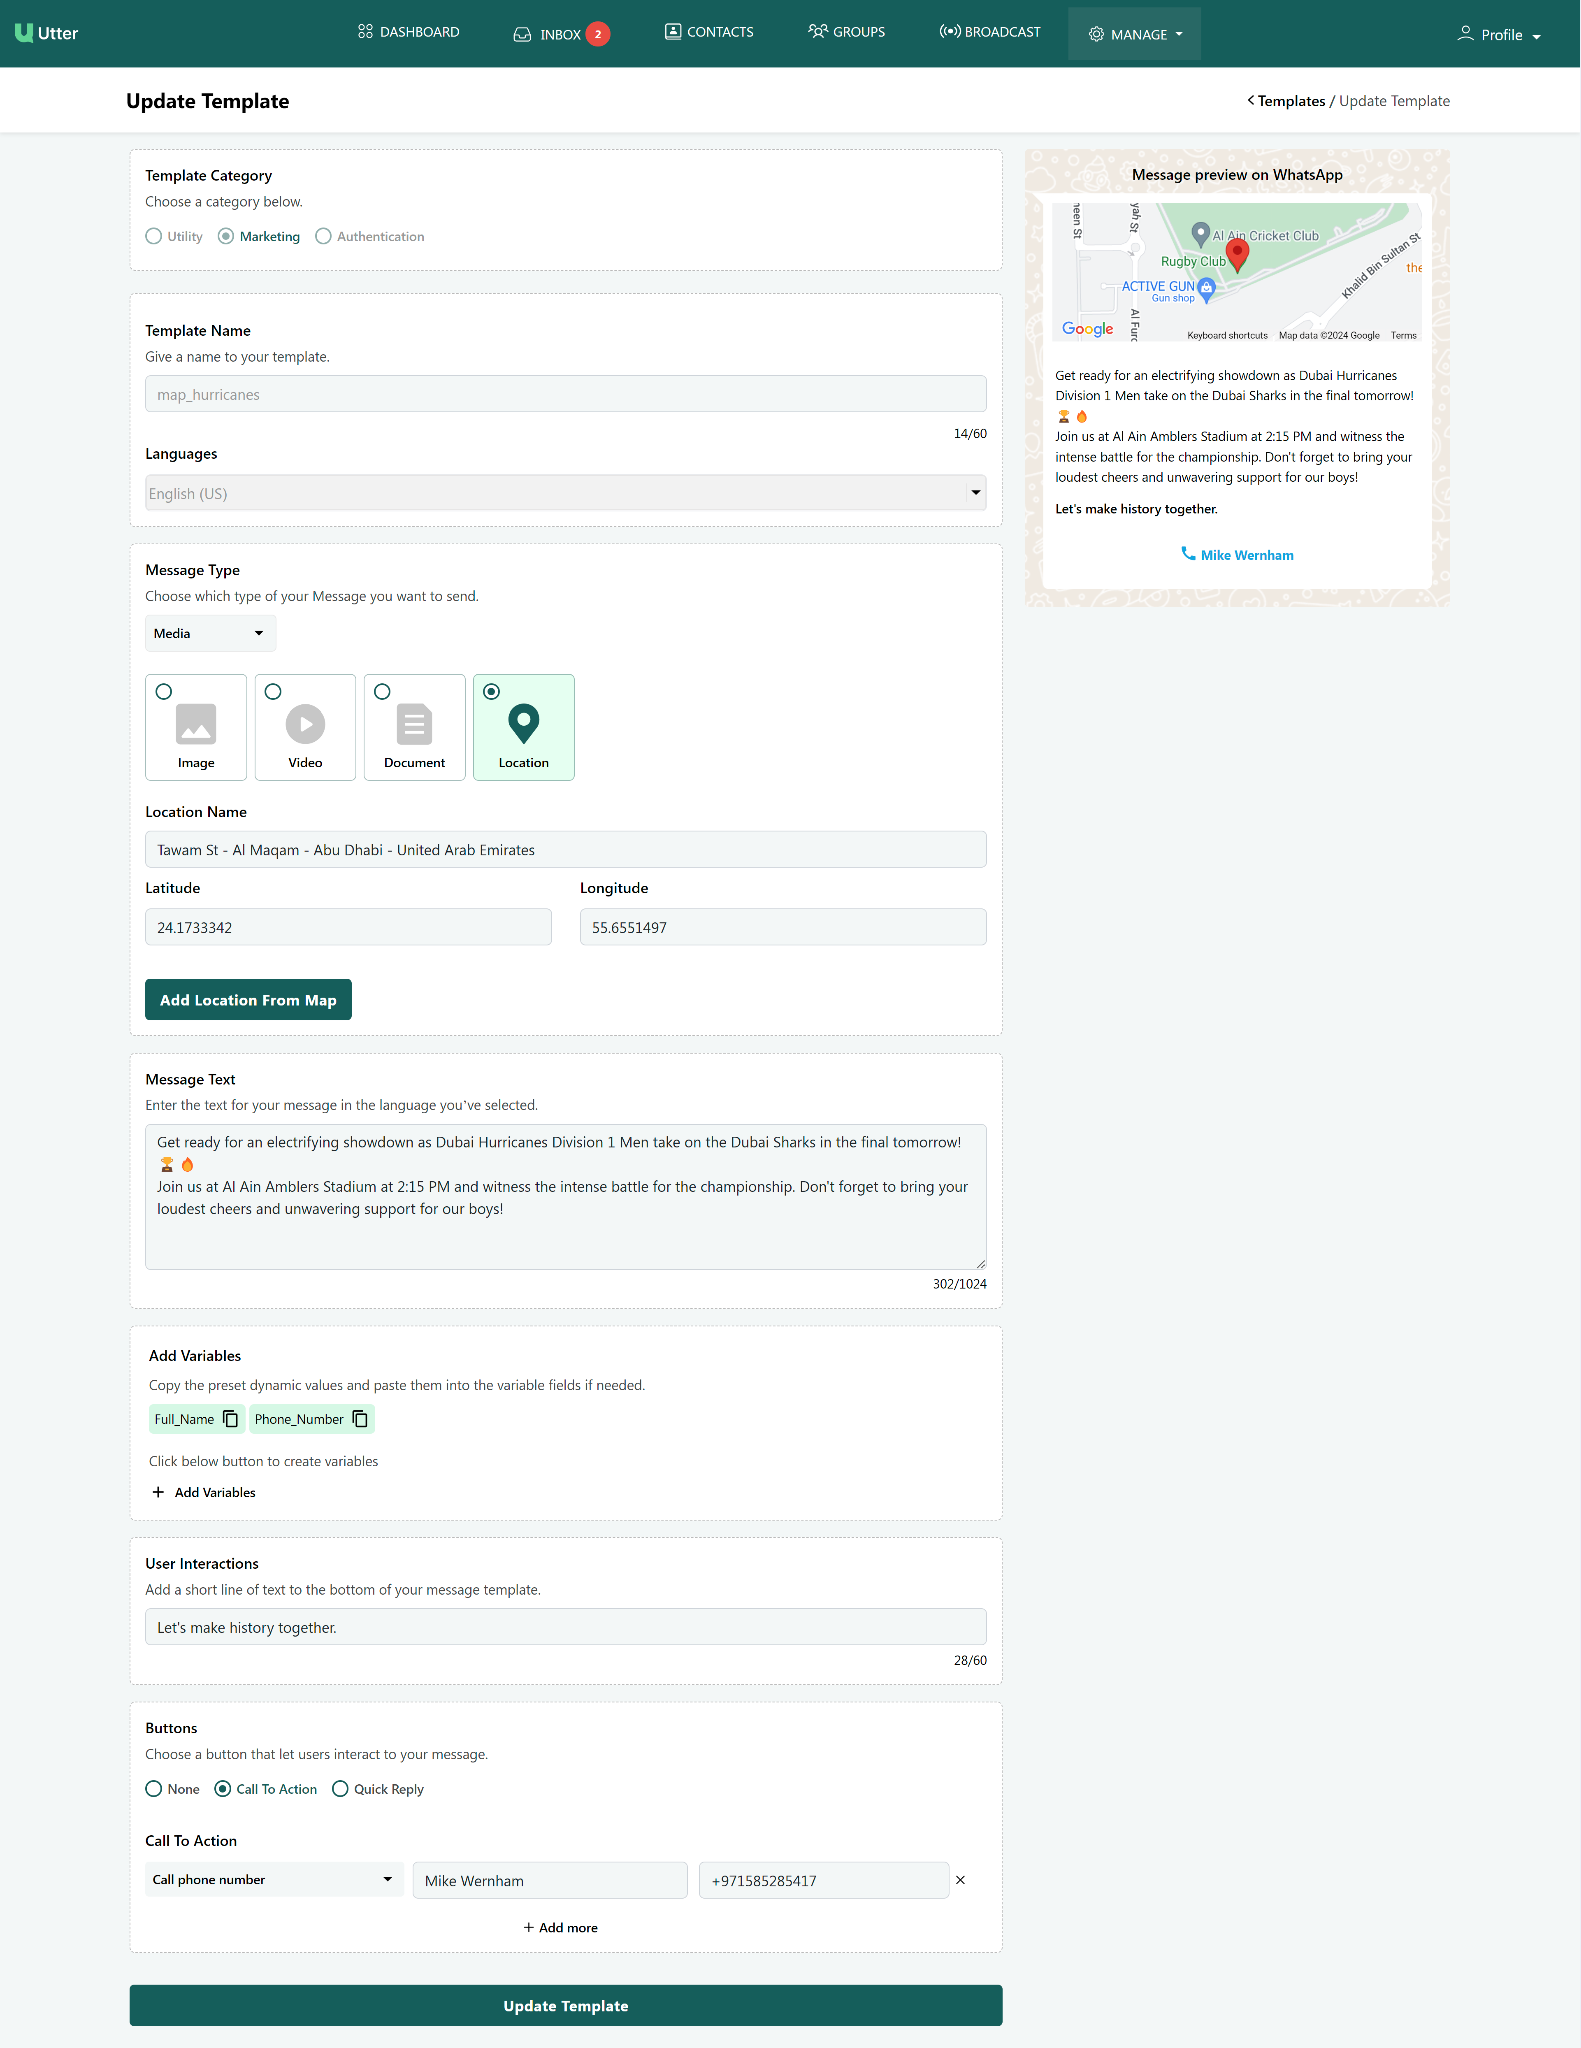
| Location | Select a location using the map |
For an image, click the image upload button, select the JPG/PNG file from your computer, and upload it.
For a video, select an MP4 file and upload it. The maximum supported size specified in the documentation is 10 MB.
For a document, select a PDF file and upload it. The maximum supported size specified in the documentation is 10 MB.
Add a location
- Click Add Location from Map.
- Use the map to find the required location.
- Click the location on the map.
- Save the location.
After saving, the Location Name, Latitude, and Longitude are automatically populated.
Step 4 — Add message content
For Utility and Marketing templates, enter the main message content.
The source documentation specifies a maximum of 1024 characters for the message text.
Footer
You can add a short footer to the template. The documented limit is 60 characters.
Step 5 — Add buttons
Use the Buttons dropdown to add interactive buttons to your template.
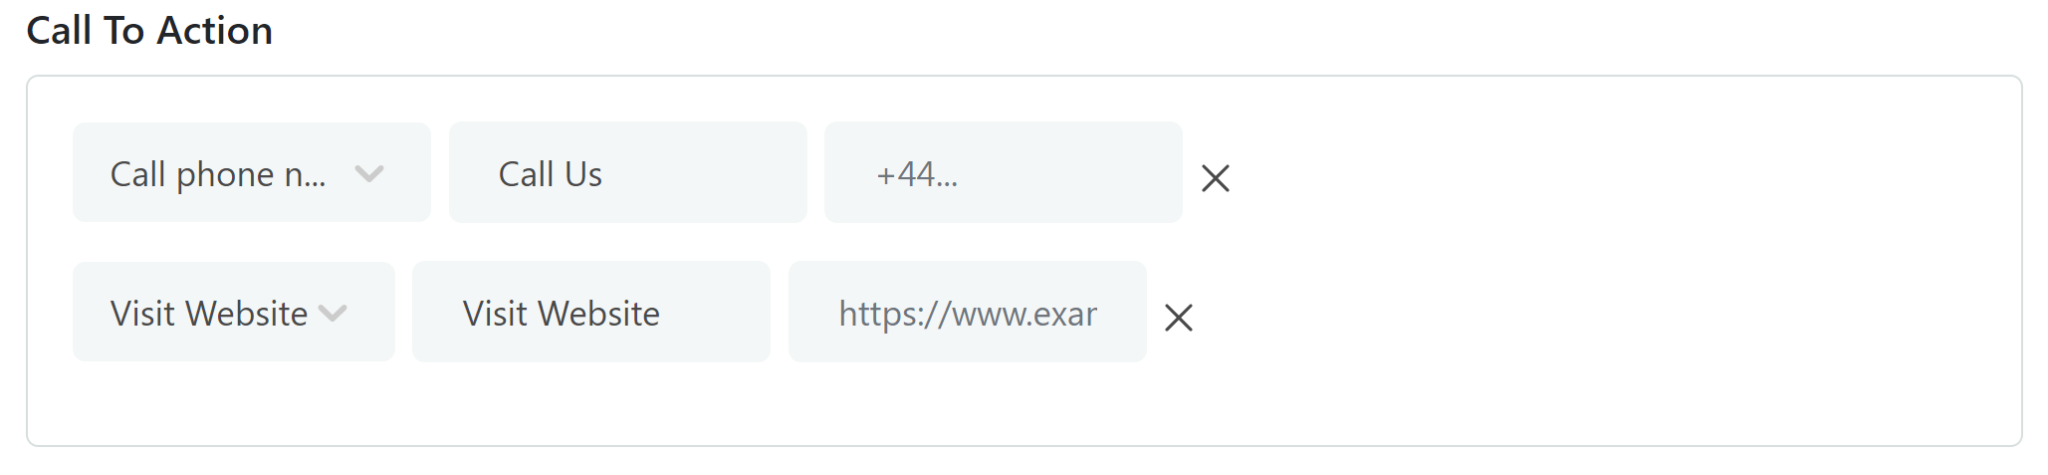
Call to action
The source describes two call-to-action button options:
- Call us
- Visit website
You can add up to two call-to-action buttons.
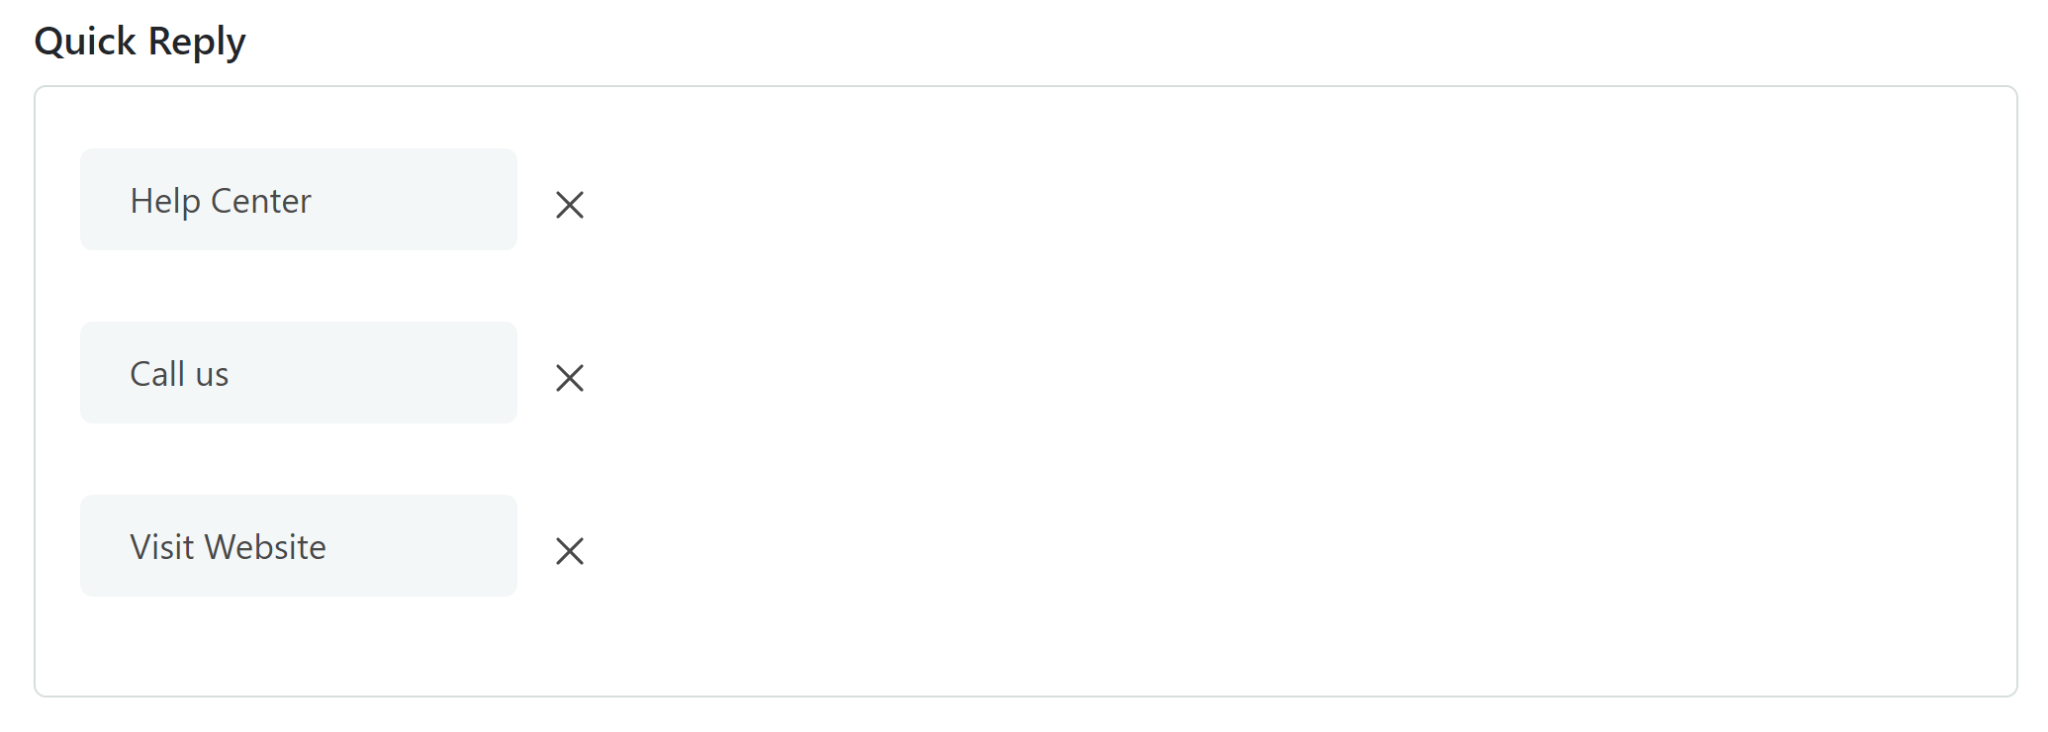
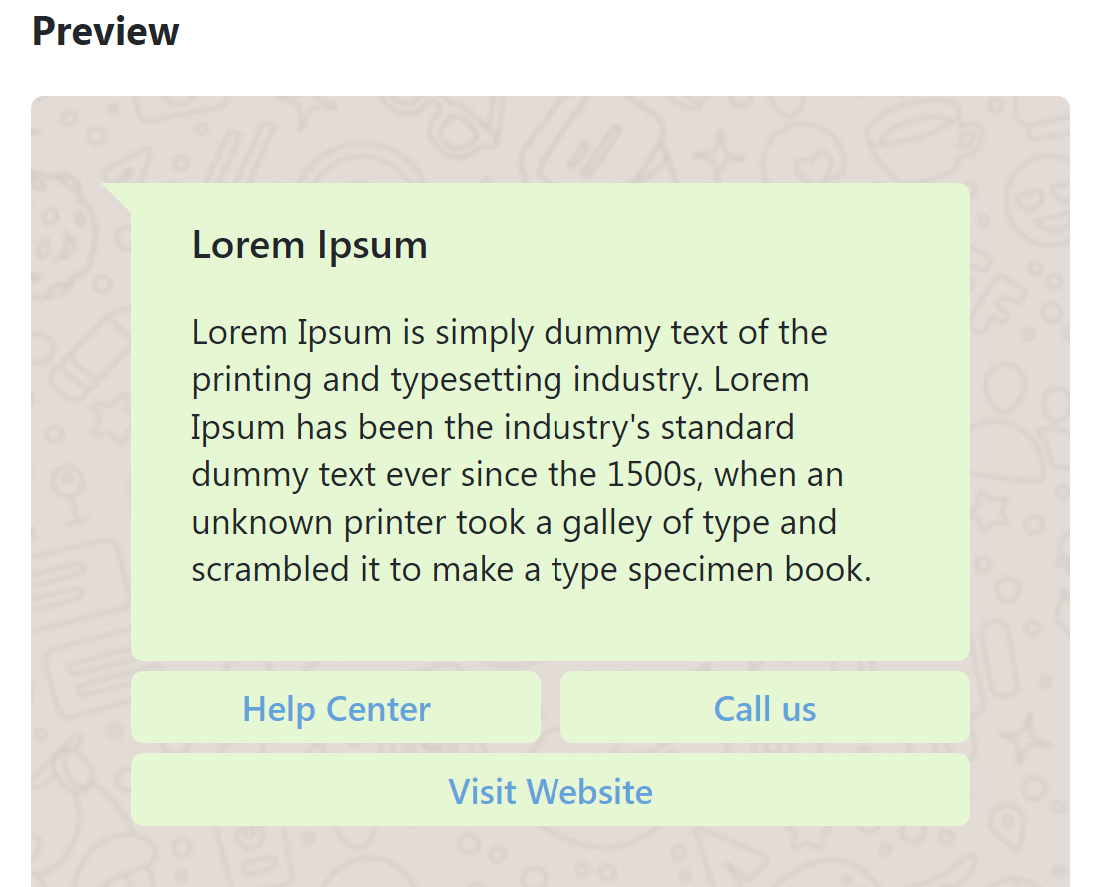
Quick reply
You can add up to three Quick Reply buttons and define the text displayed on each button.
Step 6 — Review the template preview
Use the side-by-side preview to review the template before submitting it.
Check that:
- The template content is correct.
- The selected header type is correct.
- Uploaded media is the intended file.
- The footer is correct.
- Interactive buttons appear as expected.
The source specifically describes the preview as a real-time, side-by-side view of the template layout and content.
Step 7 — Submit the template for approval
Once the template is complete, submit it for Meta/Facebook review.
Meta reviews the template for compliance with its policies and guidelines. An approved template can be used for WhatsApp marketing campaigns.
Approval statuses
| Status | What it means |
|---|---|
| Approved | The template has been approved and is available for use. |
| Pending | The template is still awaiting review. |
| Rejected | The template was not approved. Review the provided feedback, update the template, and resubmit it. |
The source documentation explicitly identifies Approved, Pending, and Rejected statuses and describes revision/resubmission after rejection.
Manage existing templates
Once templates have been created, admins can manage them from the Templates page.
Preview a template
Click the View icon to preview a template.
Edit a template
Click the Edit icon for the template you want to modify.
Update the required information, then click Update Template to save the changes.
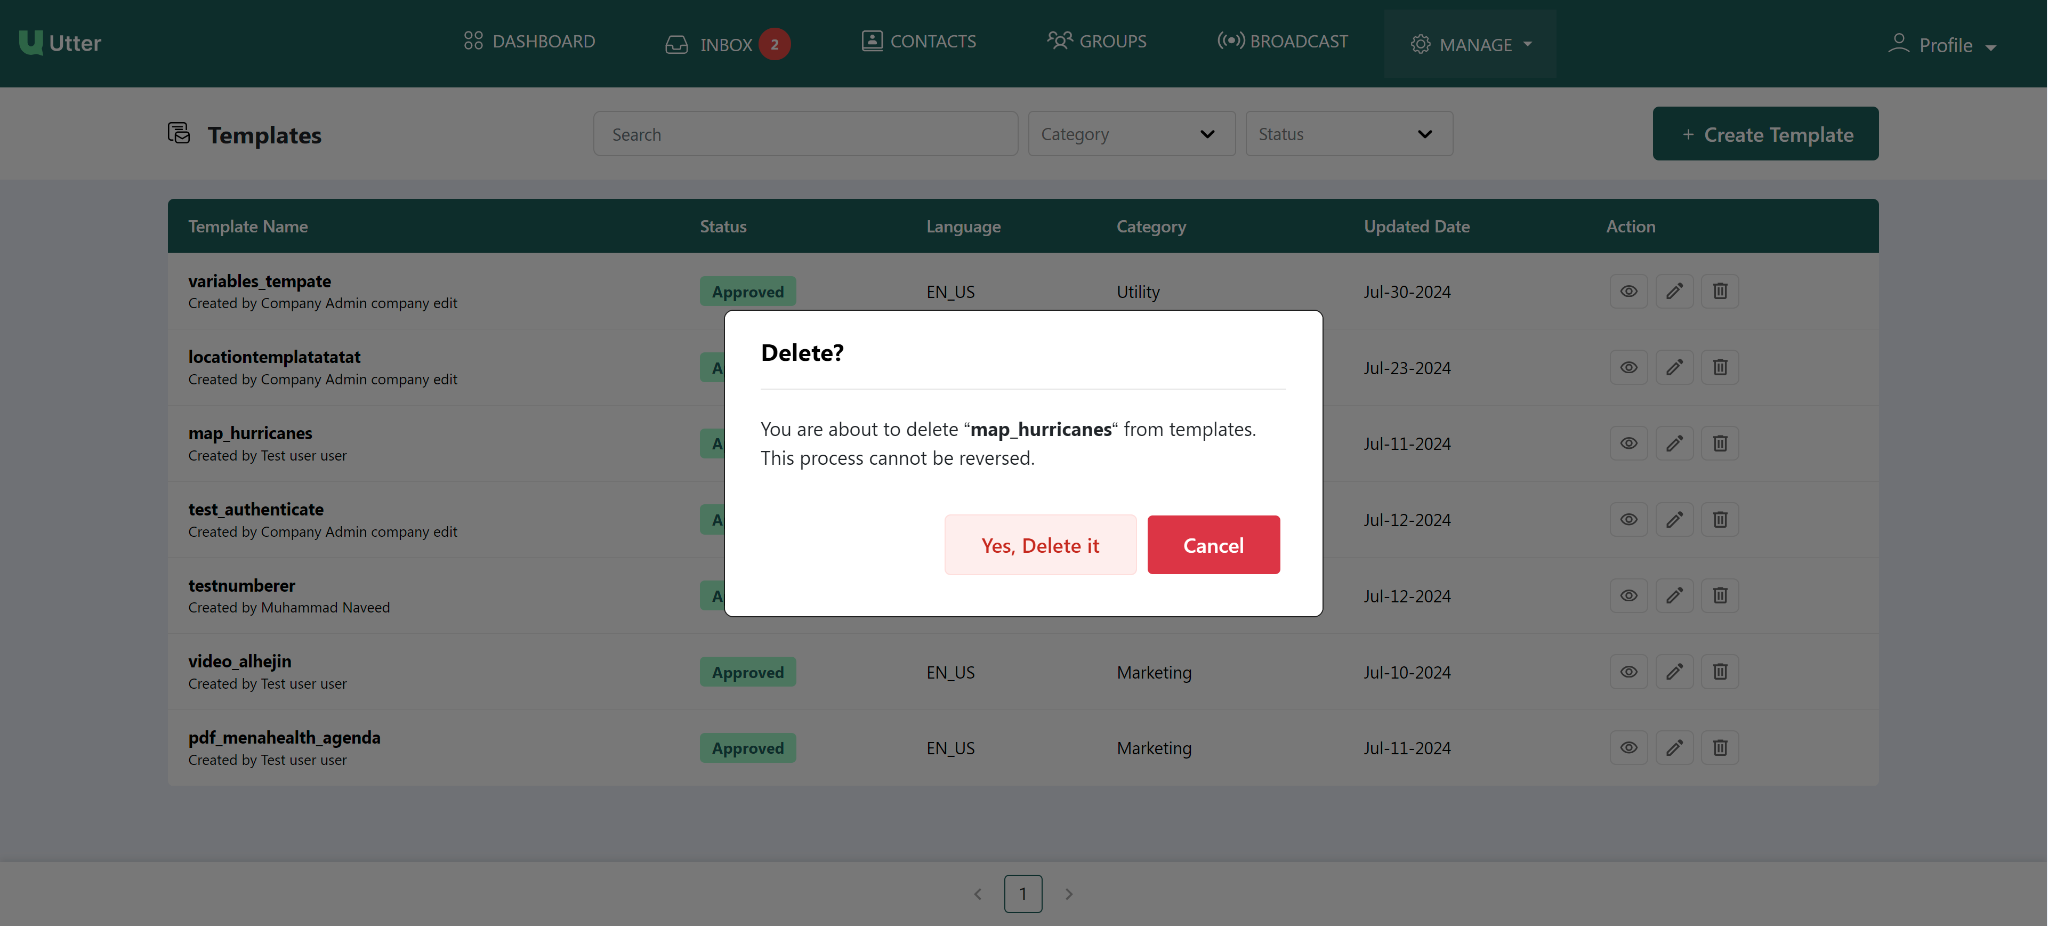
Delete a template
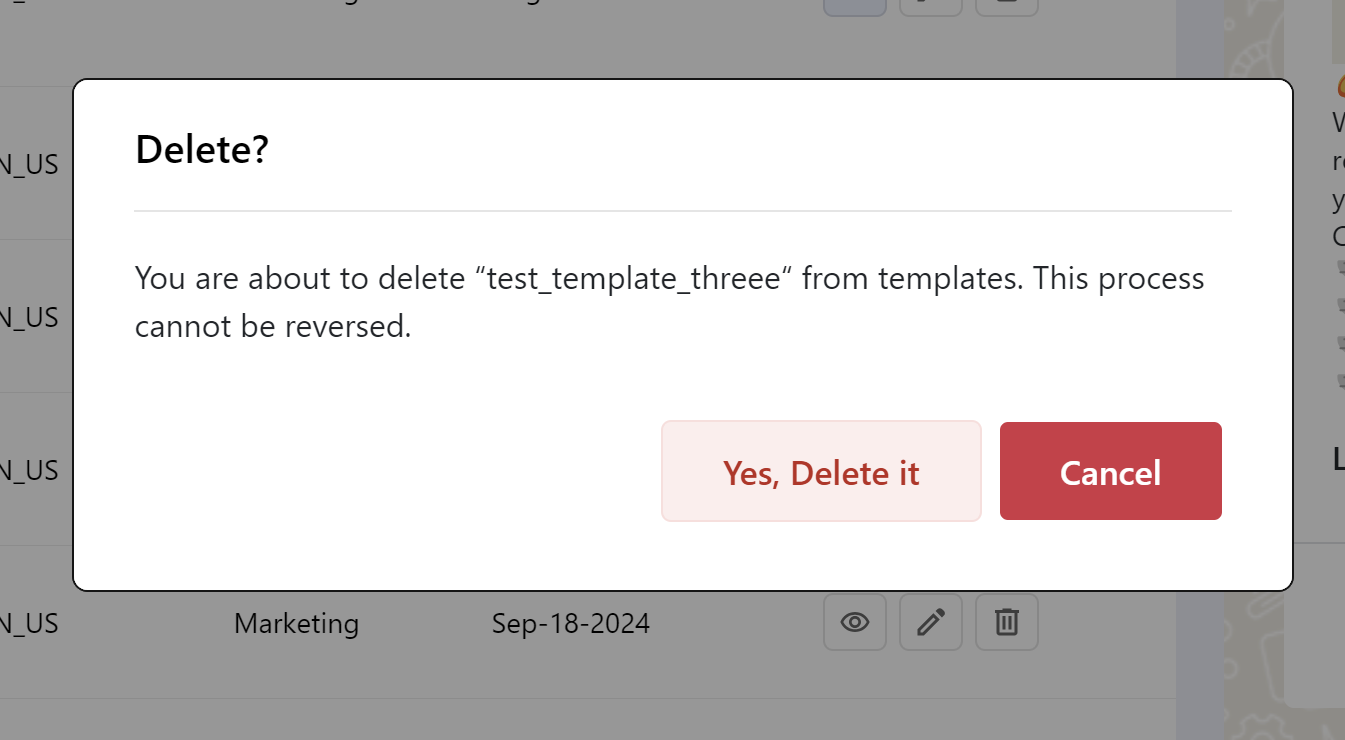
Click the Delete icon in the Actions column.
A confirmation prompt appears before the template is deleted. The source documentation notes that the deletion cannot be reversed, so confirm the action only when you are sure the template should be removed.
Deleting a template is irreversible according to the provided documentation. Review the confirmation prompt carefully before proceeding.
Quick reference
| Action | How to access it |
|---|---|
| View | Click the View icon |
| Create | Click Create Template |
| Edit | Click the Edit icon → Update Template |
| Delete | Click the Delete icon → confirm deletion |
| Submit for approval | Create the template and submit it for Meta review |
Need more detail?
- Review the Broadcast guide to learn how approved templates are used when sending broadcasts.
- Review the Contacts guide to learn how contacts and groups are managed.