Manage Business Portfolio
The Manage Business Portfolio section lets you view and manage the companies linked to your Utter account.
You can:
- View companies linked to your account
- Search for a specific company
- Add a new business to your portfolio
- Connect a new company through Meta
- Edit existing company information
Step 1 — Open Manage Business Portfolio
Open the side menu and select Manage Business Portfolio.
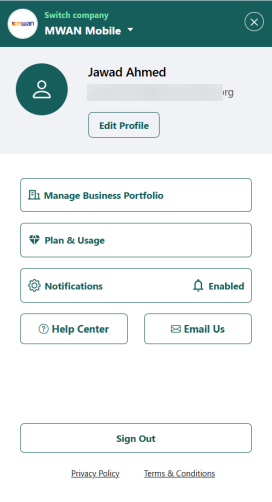
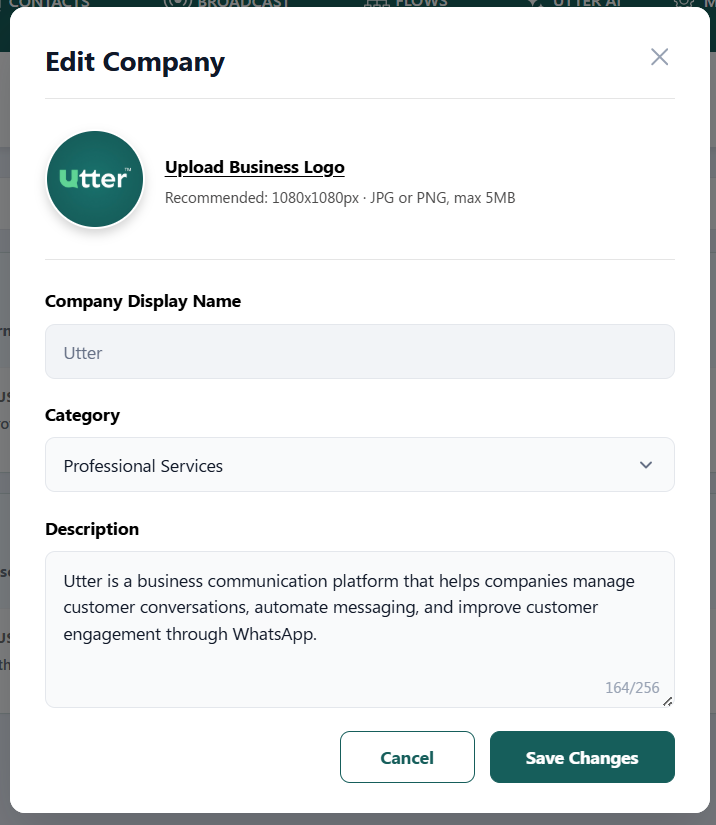
Once you open the Manage Business Portfolio page, you will see an overview of all companies linked to your account.
Portfolio dashboard
The dashboard provides the following features:
- Search Bar — Quickly find a specific company by name.
- Add Company — Add a new business (child company) to your account.
Each company is displayed as a card containing details such as:
- Company Name & Description
- Phone Number
- Business Category
- Registration Date
- Primary Tag — Indicates your default or main active company.
Step 2 — Add a New Company
If you operate multiple businesses, you can add them to your portfolio.
On the Portfolio Dashboard, click Add Company.
An Add New Company pop-up appears and explains the two required steps:
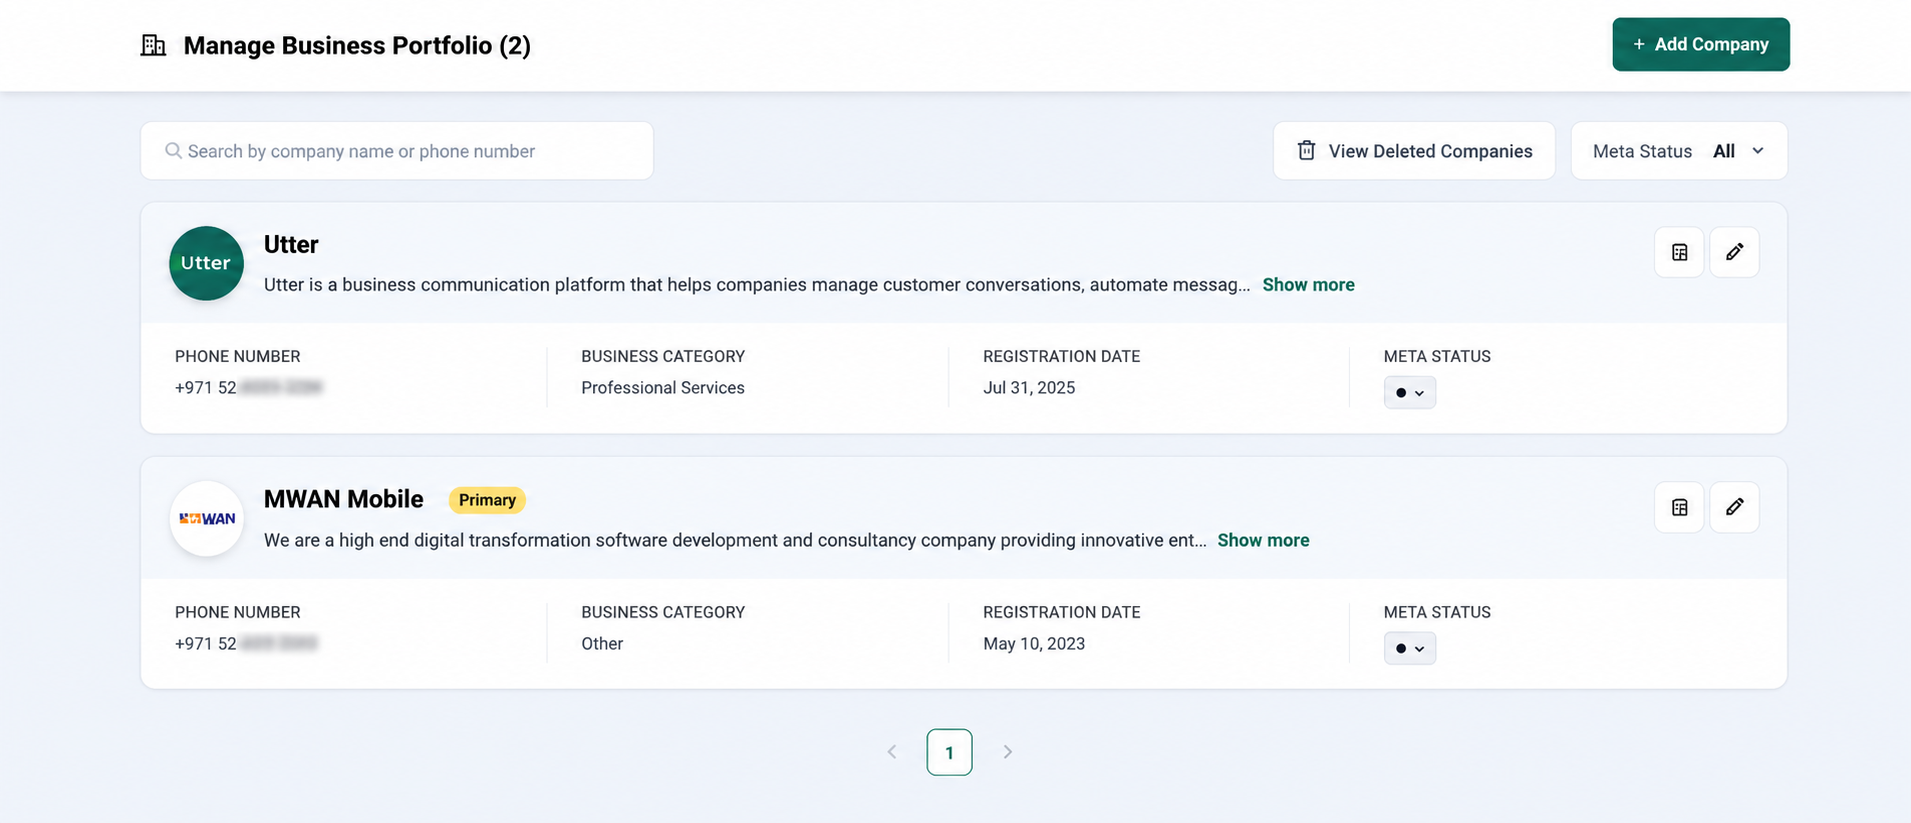
- Create a new company account
- Verify your phone number
Click Continue to Meta to open Meta's embedded signup form and complete the registration and verification process.
If you do not want to continue, click Cancel to close the window.
The new company registration and phone verification are completed through Meta's embedded signup flow.
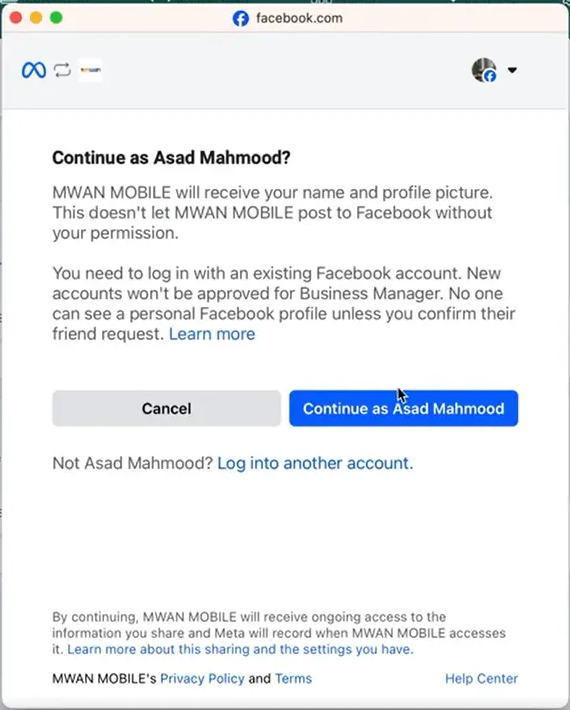
Step 3 — Log in to Facebook
A Facebook login window appears asking you to continue with the currently selected Facebook account.
Before continuing:
- Verify that the correct Facebook account is shown.
- The connected business will request access to your basic information, including your Name and Profile Picture.
- If the account is correct, click Continue as [Your Name].
- If it is the wrong account, click Not [Your Name]? Log into another account and switch to the correct Facebook profile.
Step 4 — Continue through Meta
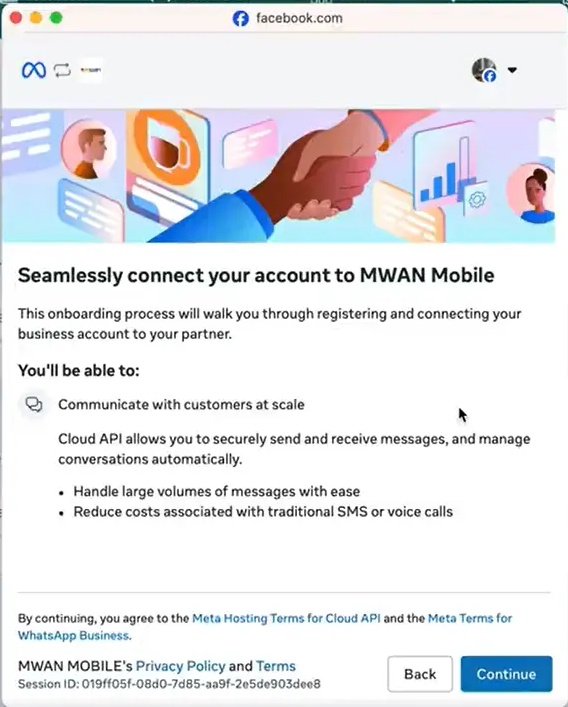
After logging in, Meta displays an introduction screen titled Seamlessly connect your account to MWAN Mobile.
This page explains what the connection enables, including:
- Communicating with customers at scale
- Secure Cloud API messaging
- Managing high volumes of messages
Read the information, then click the blue Continue button.
Step 5 — Select Business Assets
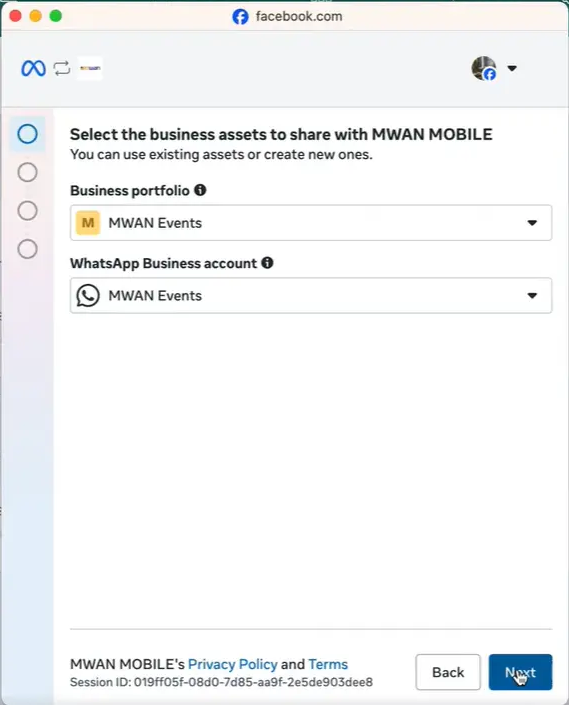
Meta asks you to select the business assets that will be shared with MWAN Mobile.
On the Select the business assets to share with MWAN MOBILE page:
- Open the Business portfolio dropdown.
- Select the business you want to link.
- Open the WhatsApp Business account dropdown.
- Select the WhatsApp account associated with that business.
- Confirm that both assets are correct.
- Click Next.
Step 6 — Choose Your WhatsApp Number Setup
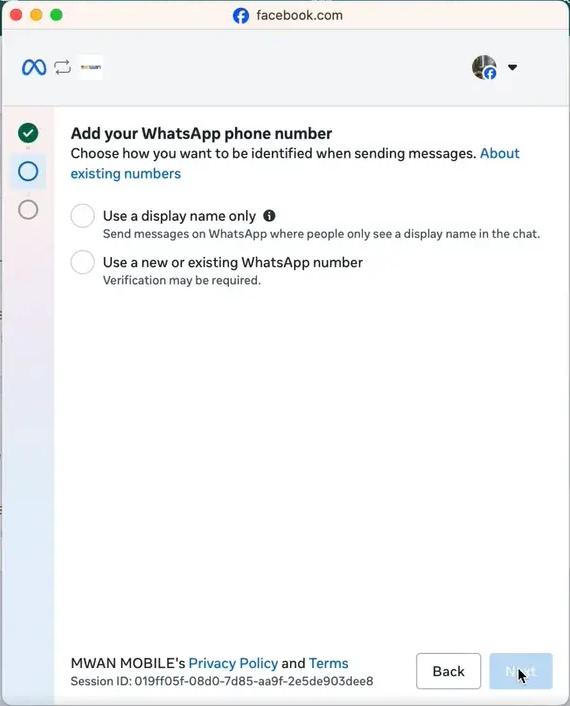
Next, choose how customers will see your business on WhatsApp.
On the Add your WhatsApp phone number page, you have two options:
Use a display name only
Select this option if you do not want to display a phone number to customers. Customers will only see your business name.
Use a new or existing WhatsApp number
Select this option if you want customers to see a specific phone number.
If you choose a new or existing WhatsApp number, you may be prompted to verify the number using an SMS or verification code.
After making your selection, click Next.
Step 7 — Review and Grant Permissions
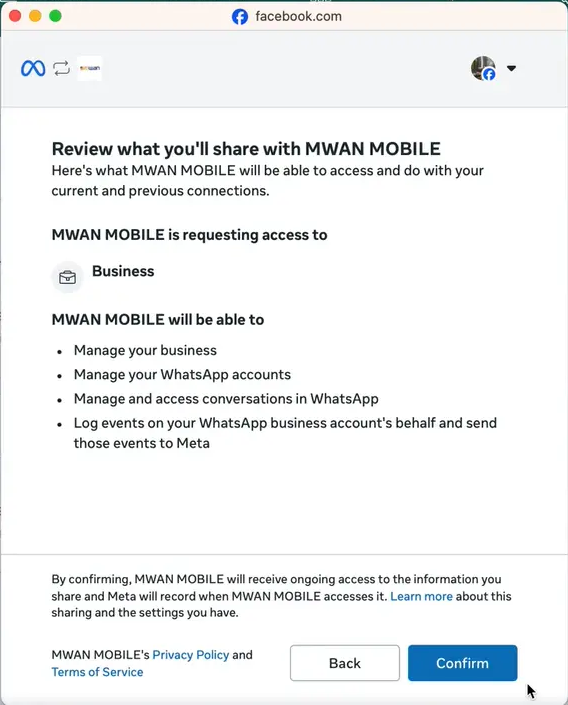
Meta displays a summary of the permissions requested by MWAN Mobile.
Review the screen titled Review what you'll share with MWAN MOBILE.
The requested permissions include:
- Manage your business
- Manage WhatsApp accounts
- Manage WhatsApp conversations
- Log and send WhatsApp Business account events to Meta
These permissions are required for MWAN Mobile to send, receive, and synchronize messages on your behalf.
If you agree to the requested permissions, click the blue Confirm button.
Click Back if you need to change anything.
Step 8 — Complete the Connection
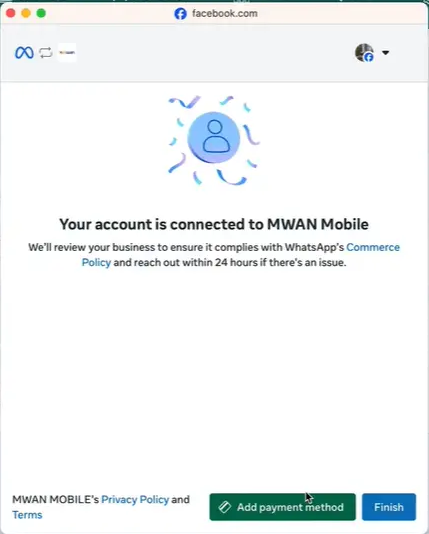
After the connection is completed, Meta displays a success screen stating that Your account is connected to MWAN Mobile.
Meta will review your business to ensure it complies with WhatsApp Business policies. If there is an issue, Meta may contact you within 24 hours.
You now have two options:
Add payment method
Click Add payment method if you are ready to add billing information for WhatsApp messaging costs.
Finish
Click Finish to complete the setup and return to the Utter app.
After you click Finish, the newly connected company appears in your Manage Business Portfolio list.
Step 9 — Edit Existing Company Information
You can update information for an existing company, such as its category, description, display name, or logo.
On the Portfolio Dashboard, select the company card you want to edit.
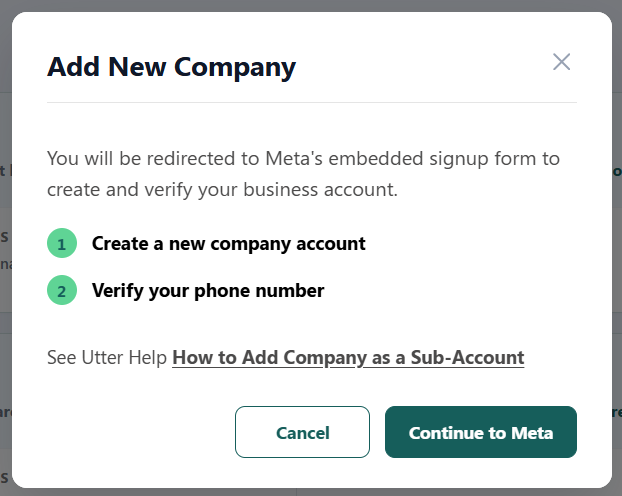
The Edit Company window appears.
You can modify the following fields:
- Company Logo — Click the image area to upload a new logo from your device.
- Display Name — Edit the company name.
- Category — Select a different business category from the dropdown.
- Description — Update the description of what your company does.
After making your changes, click Save Changes.
If you want to exit without saving your changes, click Cancel.
Review all company information before clicking Save Changes to make sure the updated details are correct.
Quick Reference
| Task | Where to go |
|---|---|
| Open Business Portfolio | Side Menu → Manage Business Portfolio |
| Search for a company | Portfolio Dashboard → Search Bar |
| Add a company | Portfolio Dashboard → Add Company |
| Start Meta registration | Add New Company → Continue to Meta |
| Select business assets | Meta → Select the business assets to share |
| Configure WhatsApp number | Meta → Add your WhatsApp phone number |
| Grant permissions | Meta → Review what you'll share → Confirm |
| Finish company connection | Meta → Finish |
| Edit company details | Portfolio Dashboard → Company Card → Edit Company |
| Save company changes | Edit Company → Save Changes |