Integrations
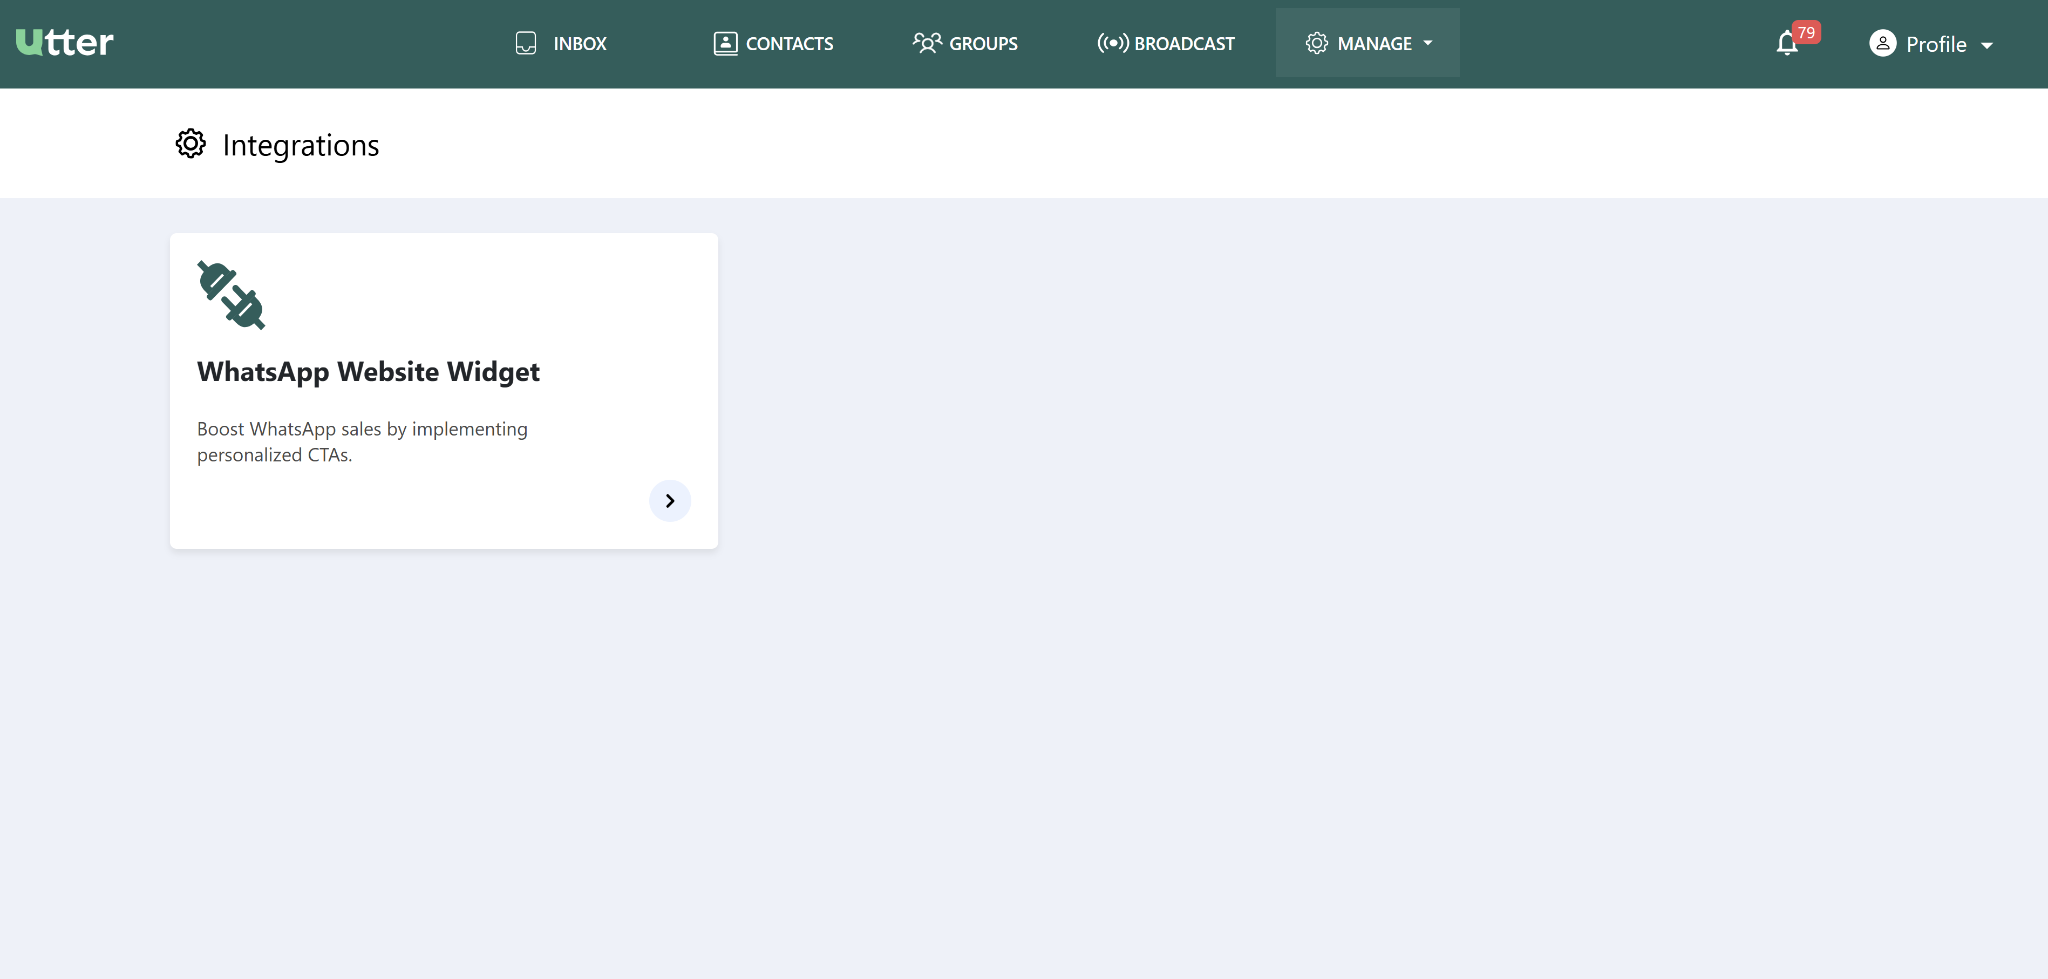
The Integrations section in Utter allows businesses to connect different platforms. Currently, it provides a fully customizable WhatsApp Website Widget that can be added to a website or application.
The widget allows website visitors to start a direct WhatsApp conversation with the business, helping businesses provide real-time support and communication.
Step 1 — Open Integrations
Open the Integrations section in Utter.
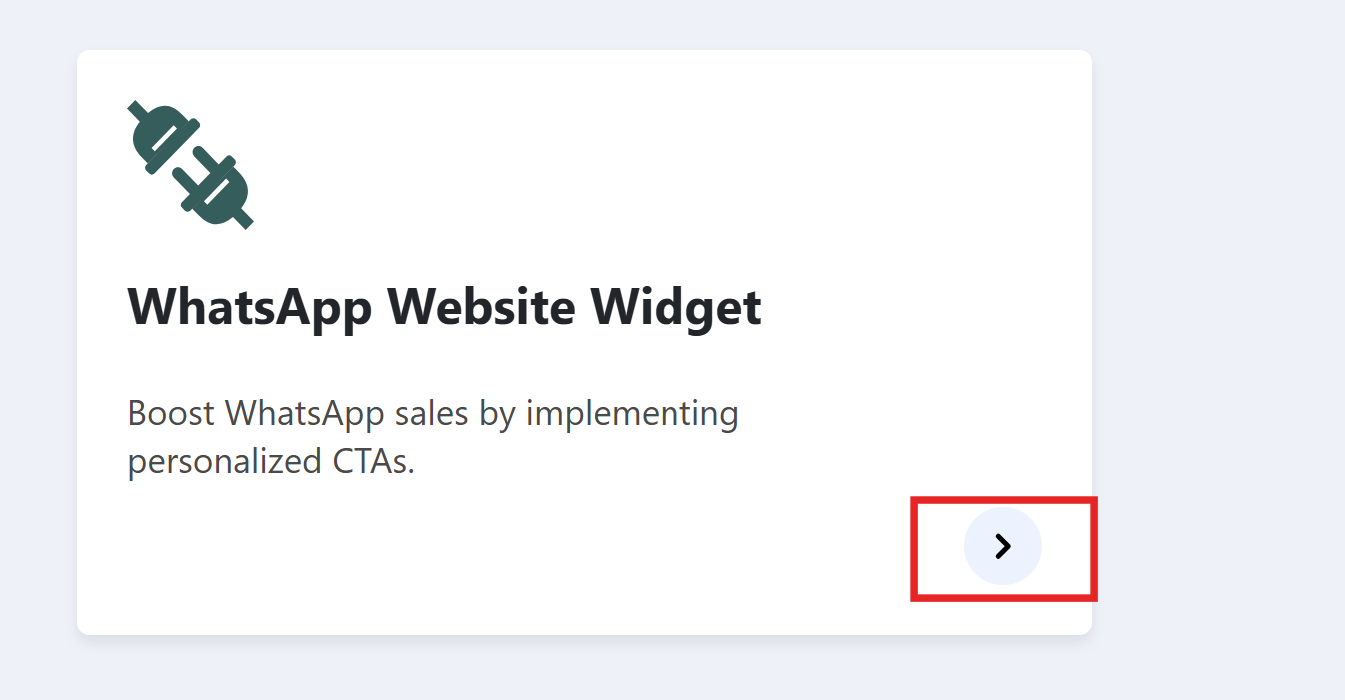
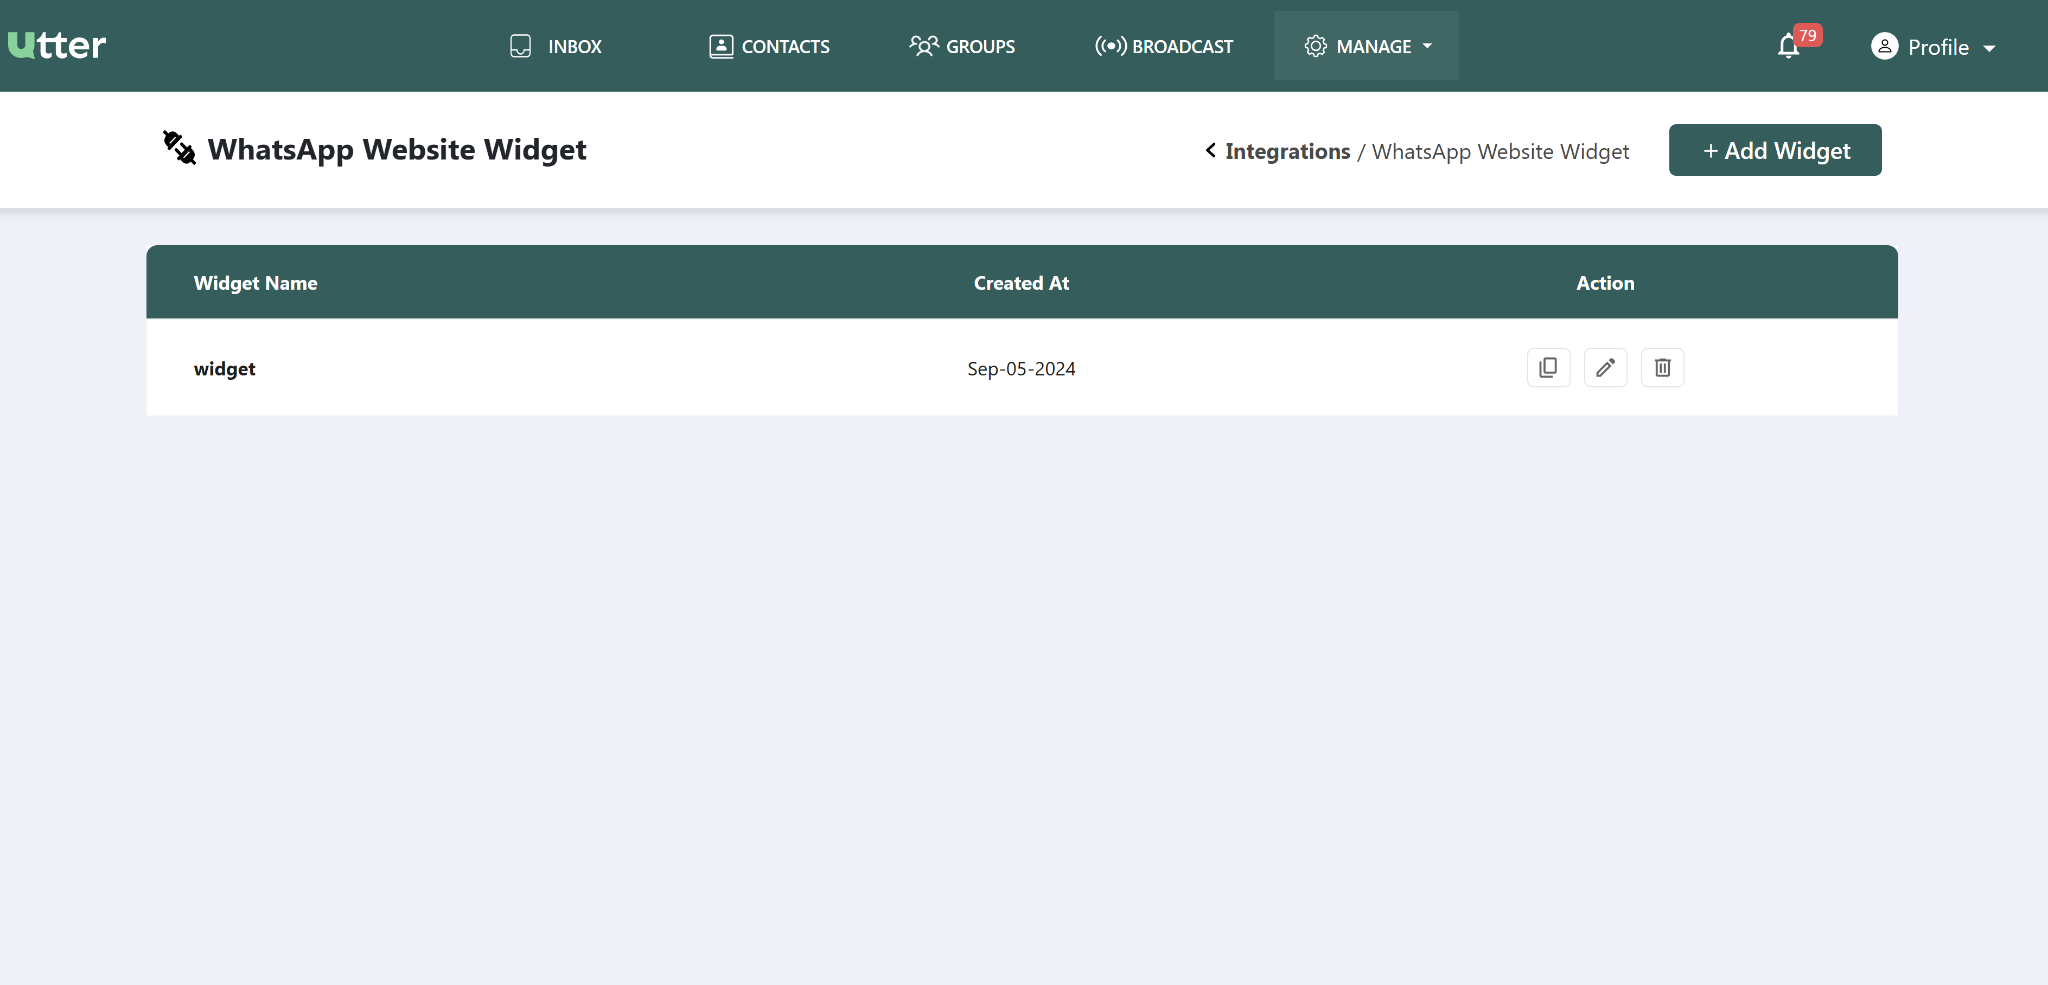
Click the arrow button to open the widget creation page. From this page, an admin can add one or multiple WhatsApp Website Widgets.

Step 2 — Add a WhatsApp Website Widget
From the widget creation page, create a new WhatsApp Website Widget.
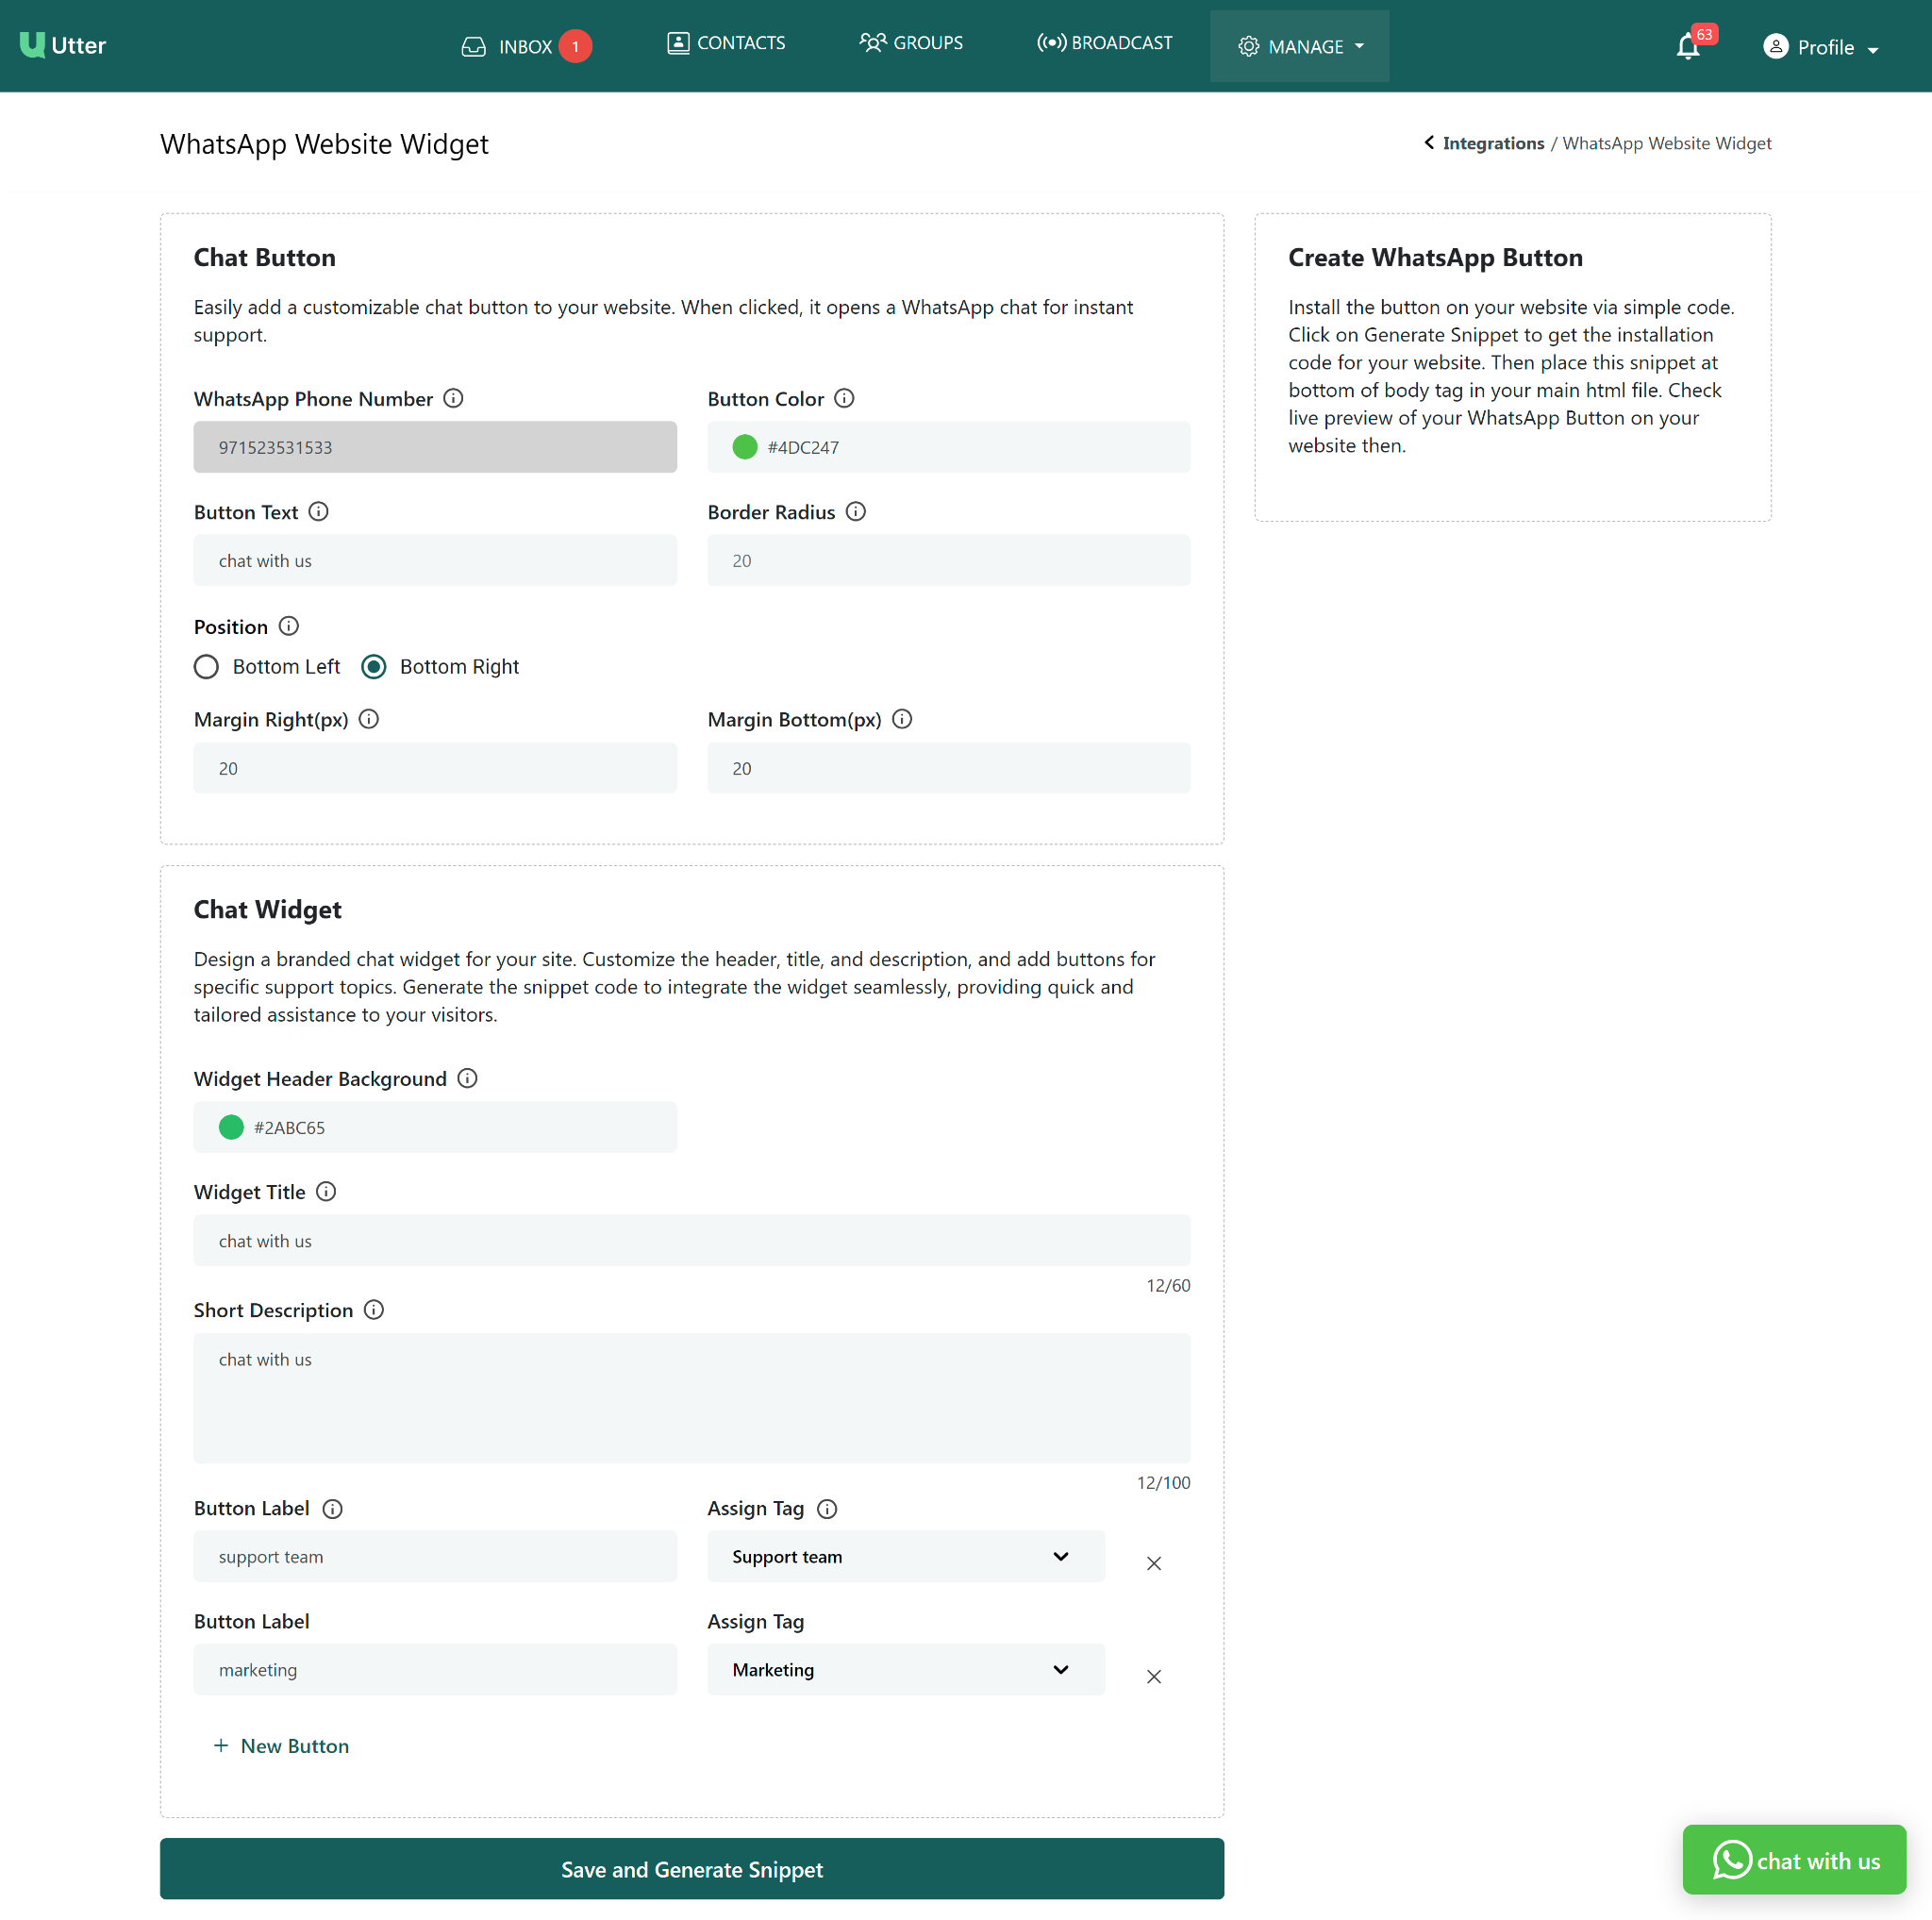
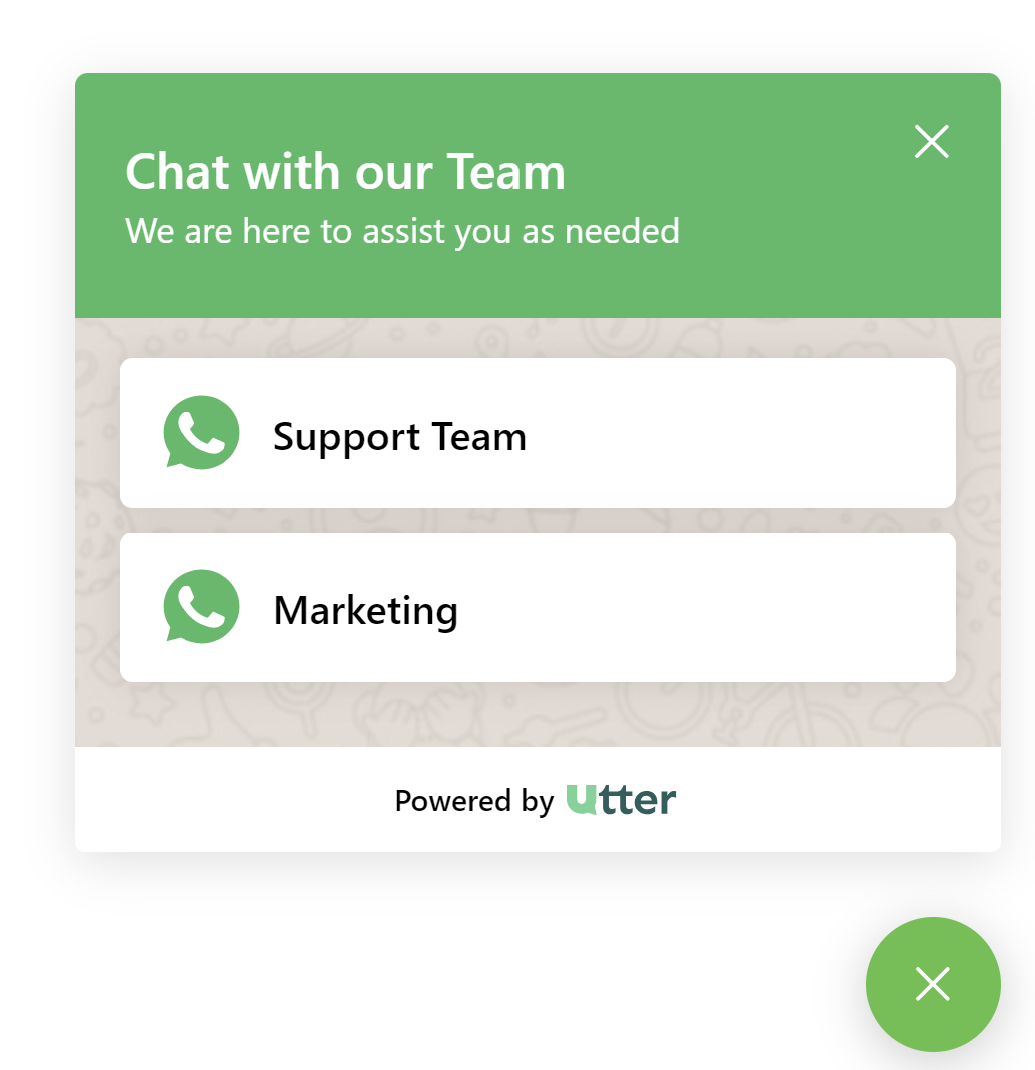
Utter allows you to customize two main parts of the widget:
- Chat Button — the button visitors click to start a conversation.
- Chat Widget — the chat interface that opens after the visitor clicks the button.
Customize the Chat Button
The Chat Button is the first point of interaction for visitors.
You can customize its appearance, position, and text to match your website's branding.
WhatsApp Phone Number
Enter the WhatsApp Business phone number associated with your Utter application.
Button Color
Use the color picker to choose the color of the chat button and match it with your brand identity.
Button Text
Enter the text displayed on the chat button.
For example:
- Chat with us
- Contact via WhatsApp
The button text can be used as a call-to-action to encourage visitors to start a conversation.
Button Radius
Adjust the Button Radius to control the appearance of the button's corners.
Use a smaller radius for sharper corners or a larger radius for a more rounded appearance.
Position
Choose where the chat button appears on your website:
- Bottom left
- Bottom right
Margin Right
Adjust the right margin to fine-tune the horizontal position of the chat button.
Margin Left
Adjust the left margin to fine-tune the horizontal position of the chat button.
Customize the Chat Widget
After a visitor clicks the Chat Button, the Chat Widget opens and provides the interface for communication.
The widget can be customized with settings such as the welcome message, agent availability, personalized brand messaging, language, and call-to-action text.
Widget Header Background
Choose the Widget Header Background color to match your brand colors.
Widget Title
Enter the title displayed at the top of the chat widget.
Examples include:
- Chat with Us
- We're Here to Help
Short Description
Enter a short description for the widget.
Button Label
Enter the label displayed on a widget button.
Assign Tag
Assign a tag to the chat button/widget as required.
The source documentation also states that admins can add multiple buttons by labeling each button and assigning the chat.
Use clear button labels and a concise widget title so visitors immediately understand how to start a conversation.
Step 3 — Save and generate the widget
After entering the required information and customizing the Chat Button and Chat Widget, click Save and Generate Widget.
The widget is generated with the settings you configured.
Step 4 — Copy the widget code
After generating the widget, use the Copy Code feature to copy the WhatsApp Website Widget code.
Paste the copied code into your website's HTML or the location where you want the widget to appear.
The provided documentation explains where to paste the generated code, but it does not specify a particular HTML element, CMS, or website platform.
Manage an existing WhatsApp Website Widget
Edit a widget
Admins can update an existing WhatsApp Website Widget by changing its Chat Button and Chat Widget settings.
This can be used to update the widget as branding or functionality requirements change.
Delete a widget
Admins can delete a WhatsApp Website Widget when it is no longer needed or when it needs to be completely redesigned.
Deleting the widget removes it from the website and permanently removes its associated configuration.
Deleting a widget permanently removes its associated configurations according to the provided documentation.
Quick reference
| Action | What to do |
|---|---|
| Create widget | Open Integrations → open the widget creation page → add a widget |
| Customize button | Configure phone number, color, text, radius, position, and margins |
| Customize widget | Configure header background, title, description, button label, and tag |
| Generate | Click Save and Generate Widget |
| Copy code | Click Copy Code and add the code to your website |
| Edit | Update the Chat Button or Chat Widget settings |
| Delete | Delete the widget and confirm the action |
Need more detail?
- See the Tags guide for managing tags.
- See the Users guide for managing agent users.
- See the Contacts guide for managing contacts and groups.